Click this button for info.
1. Folder Organization
Comprehension of the folder hierarchy
You'll see that the bundle has several directories when you install it. An overview for every file and its data may be seen below:
kindly aware as the snapshots you have been shown are merely templates and should not be used for real production.
Theme: All of the WordPress theme files are contained in this directory.
"online-courier-services-pro" -The folder here contains all of the WordPress theme files that are necessary.
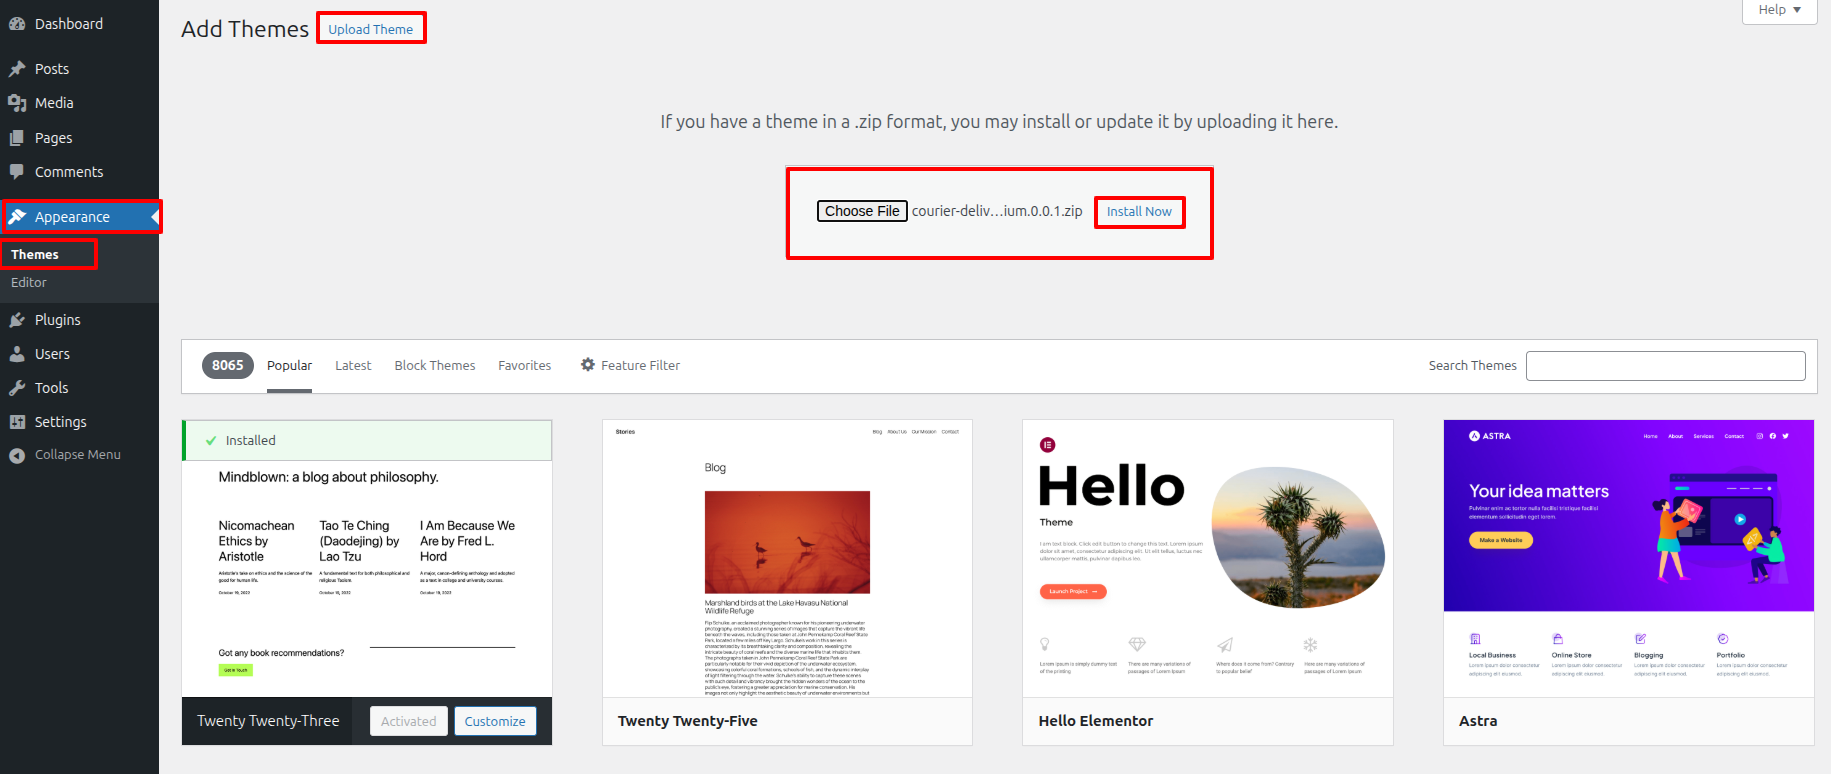
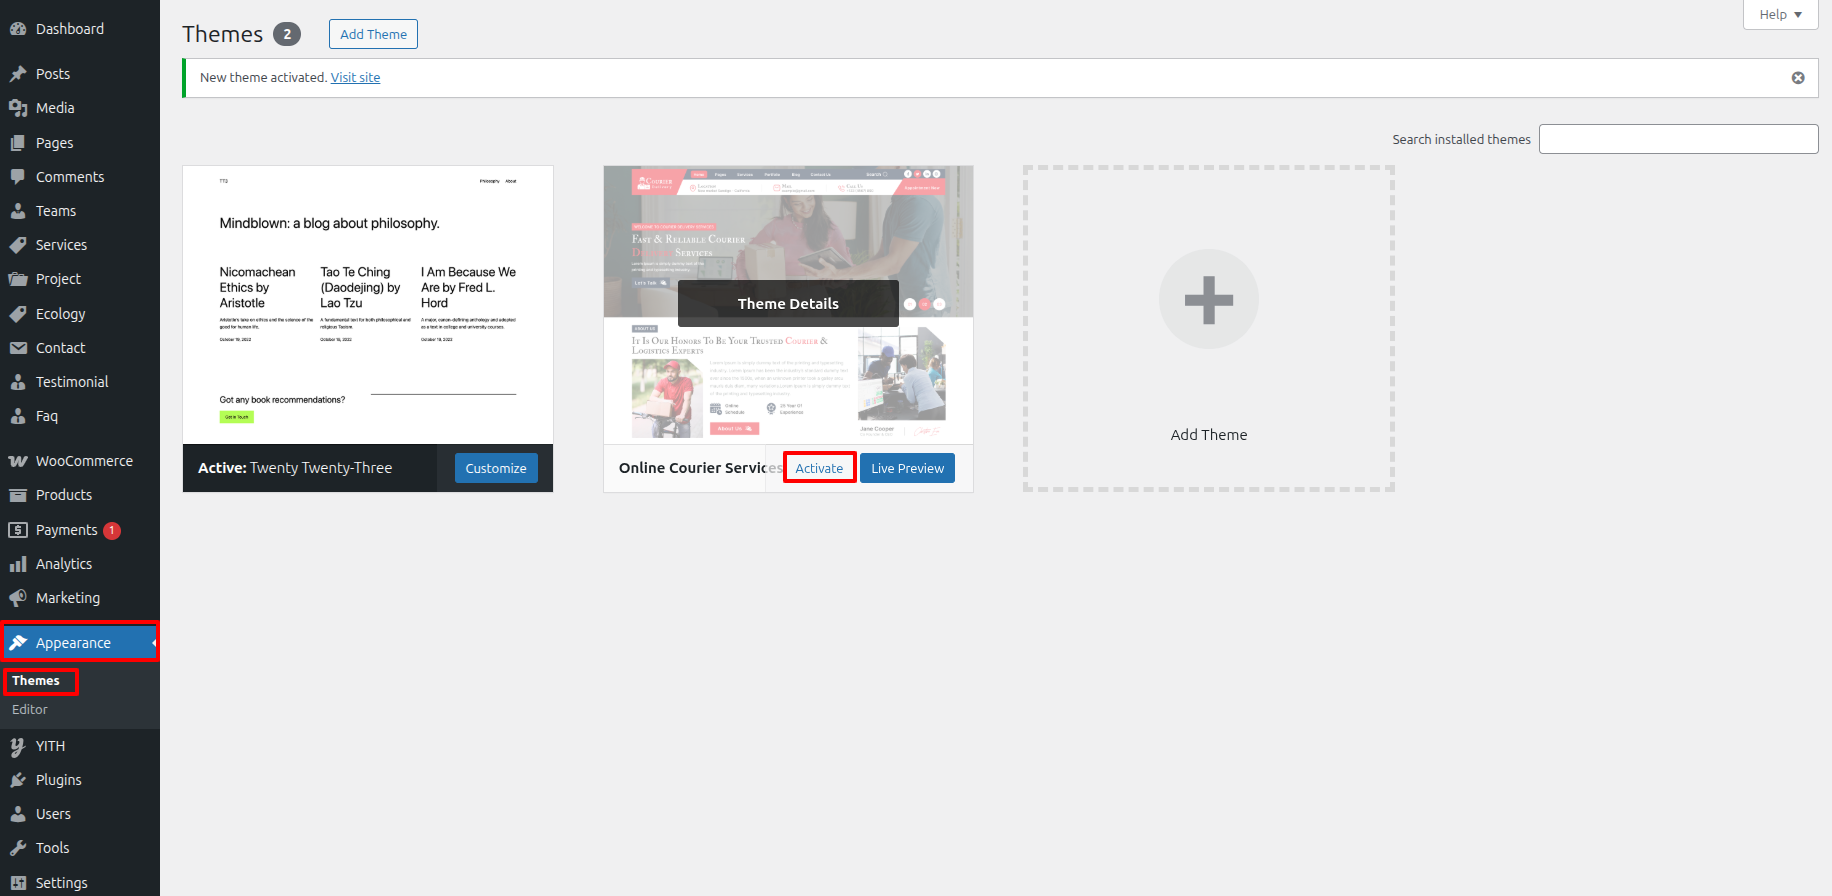
2. Installation
Implementing from the beginning the Template
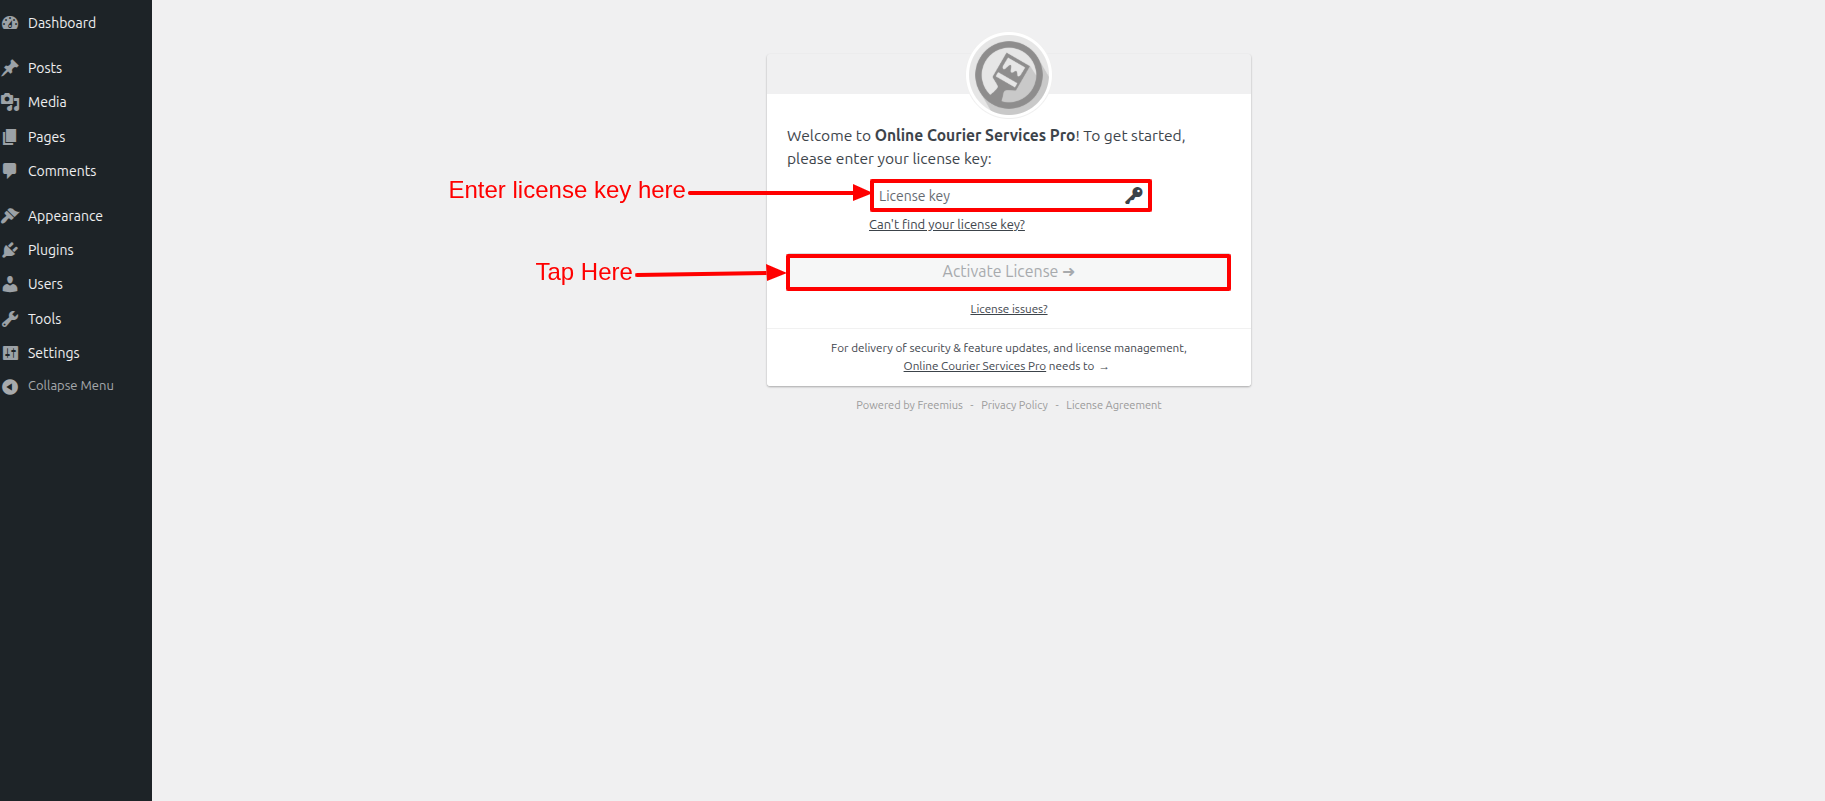
3. License Key
Activate the License Key.
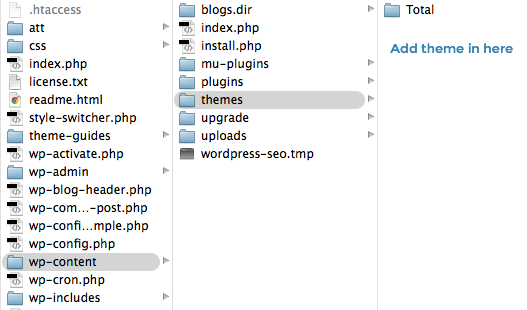
3. FTP
Opening up FTP transferring
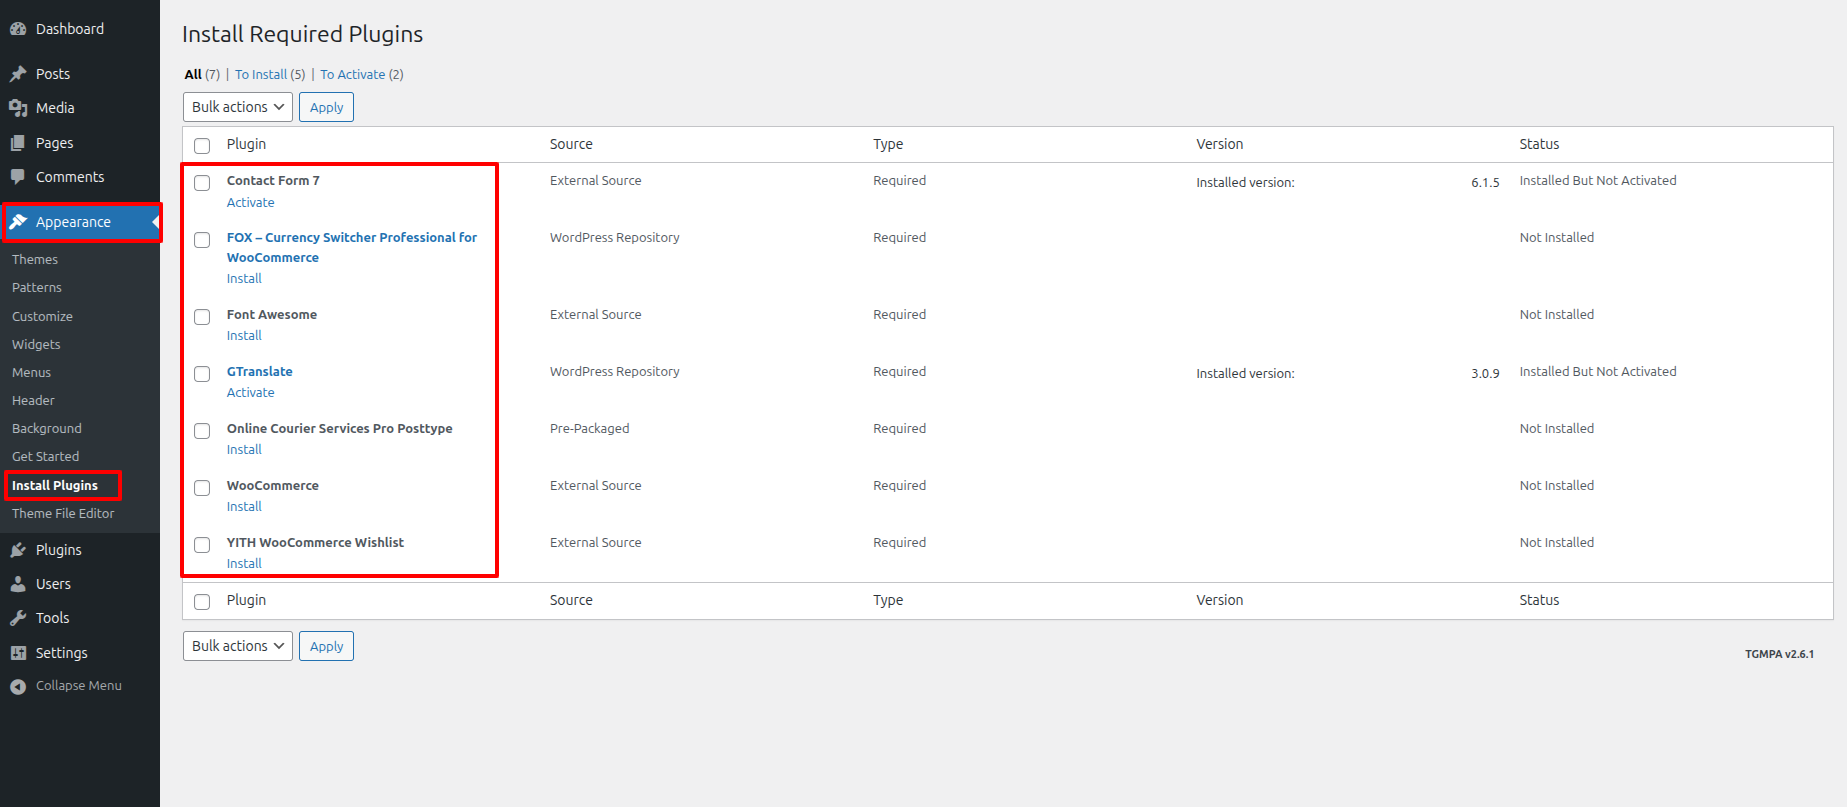
4. Providing up Plugins
Implementing from the beginning the Plugins
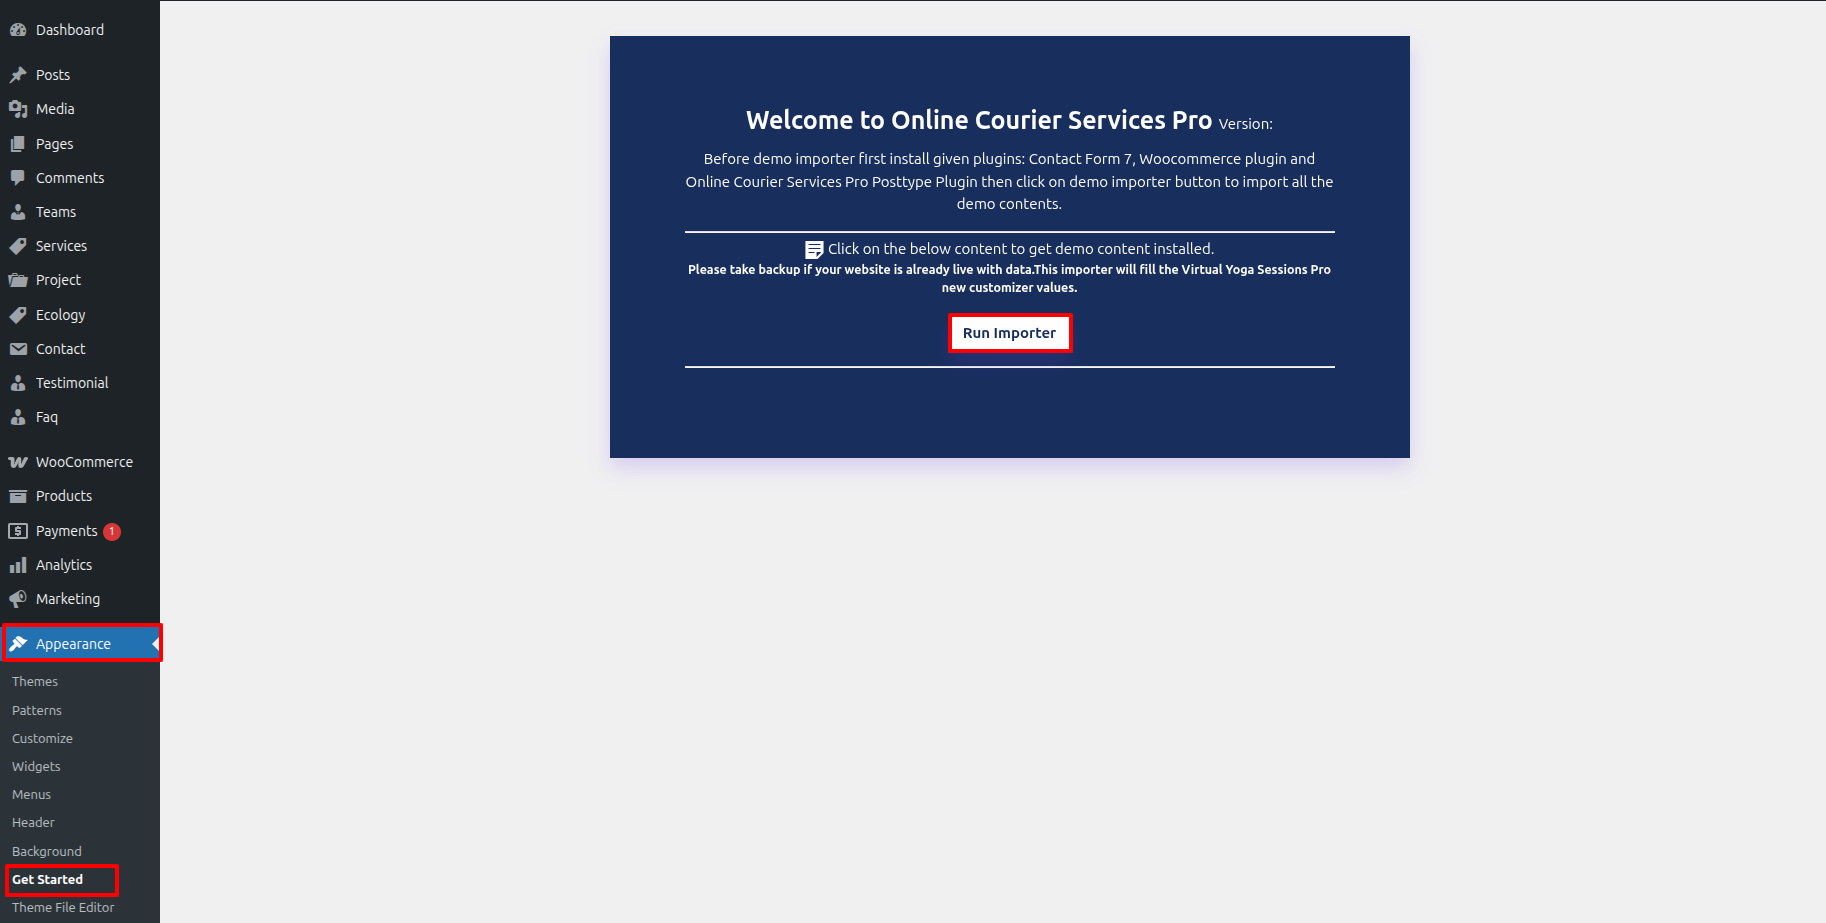
5.Get Started
Implementing from the beginning the Demo Import
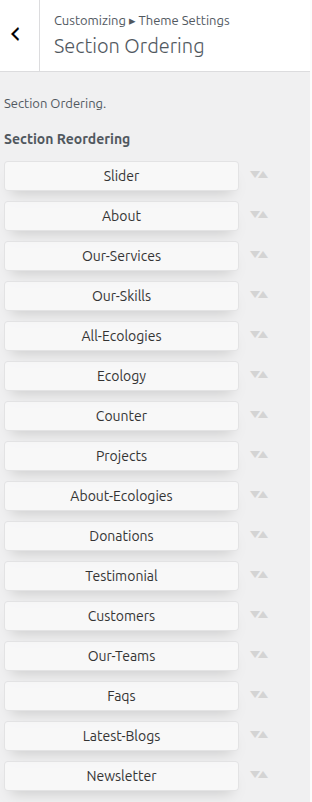
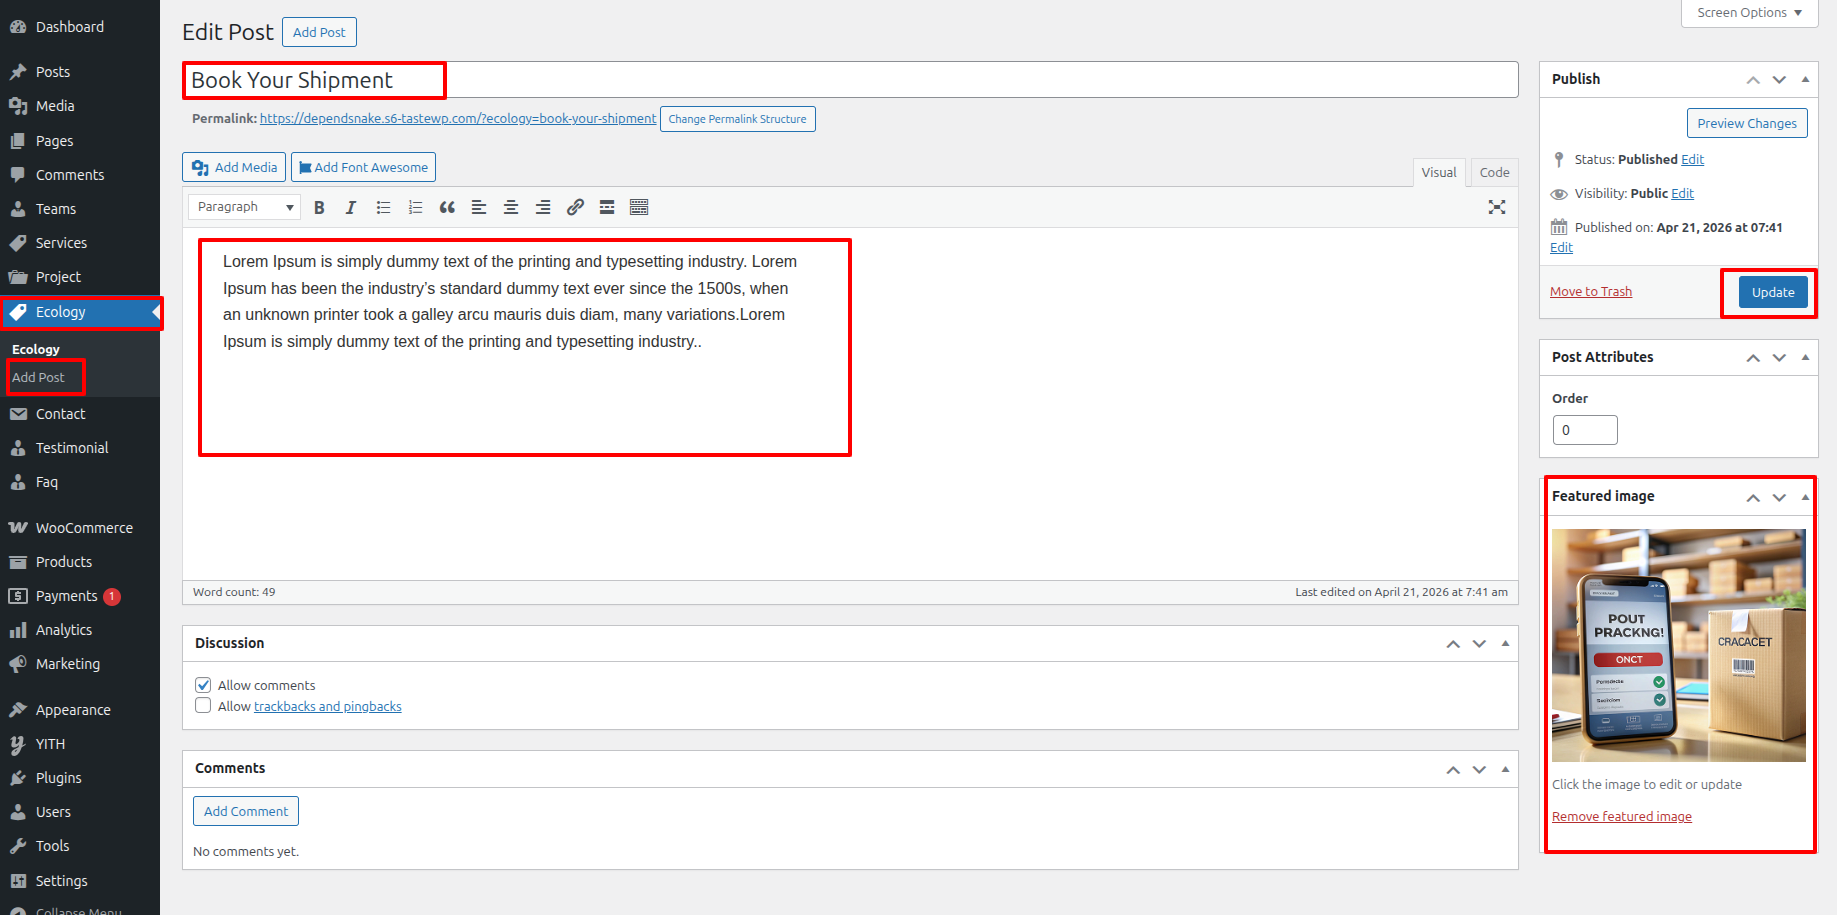
6. Ordering
This is the portion of the Ordering reference.
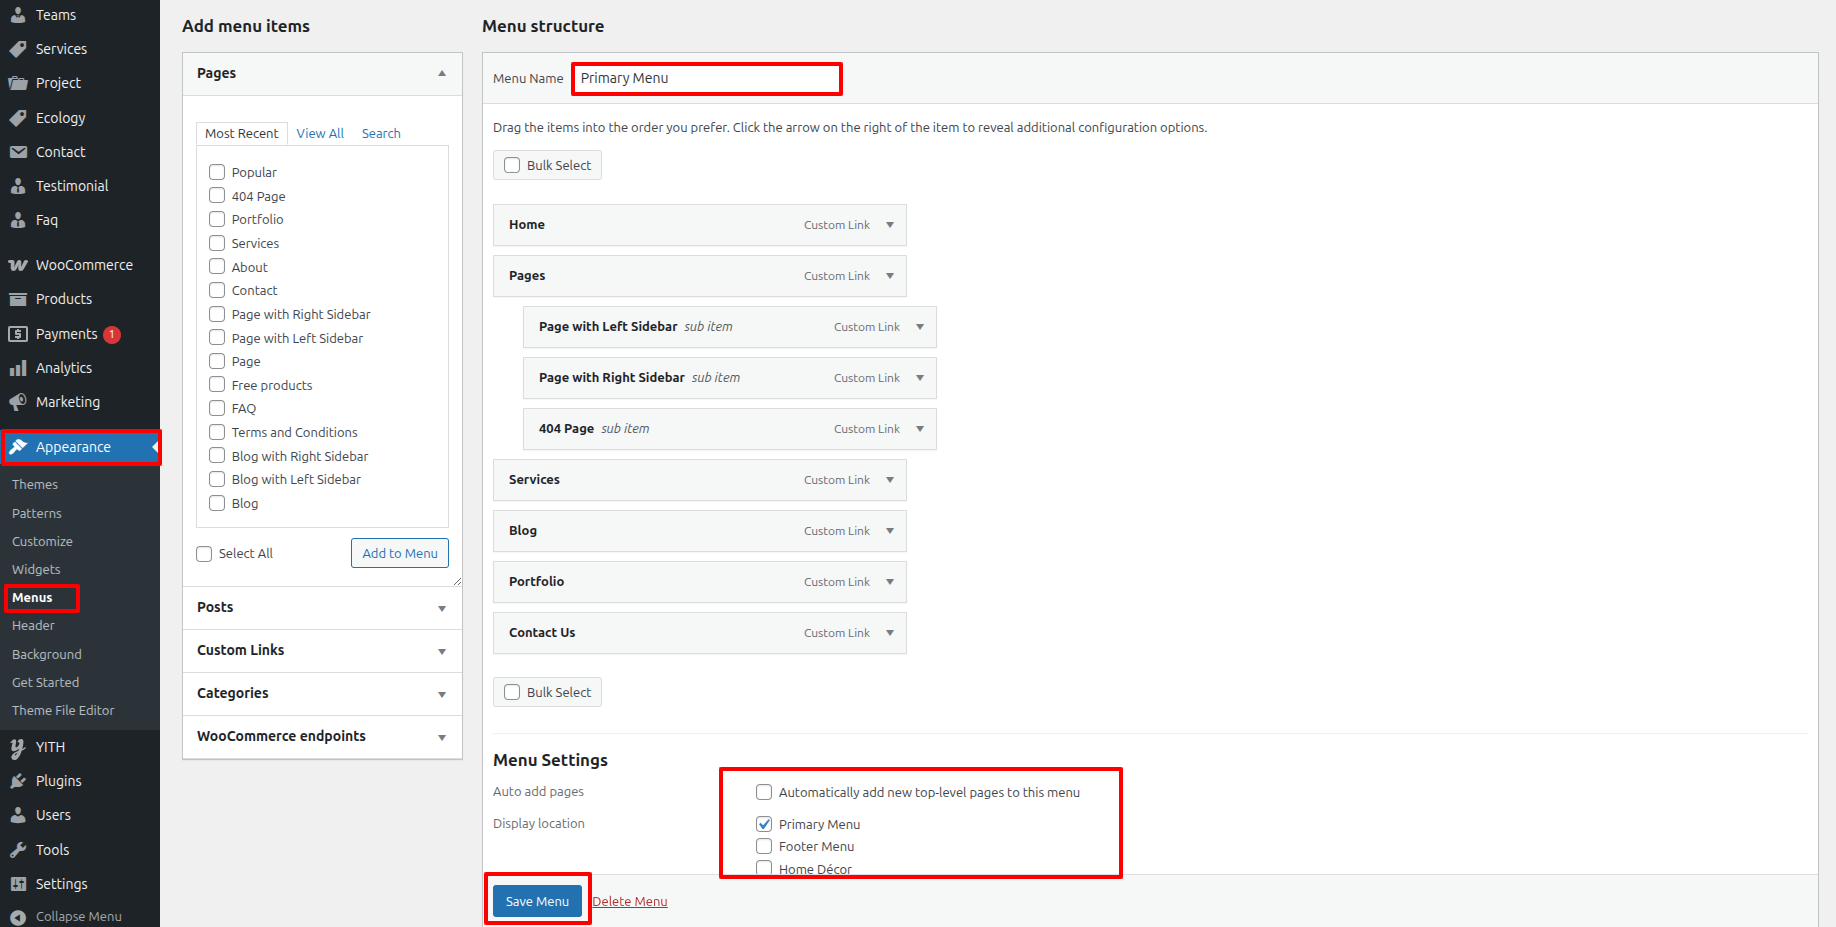
7. Managing the Navigation
This is the portion of the Navigation reference
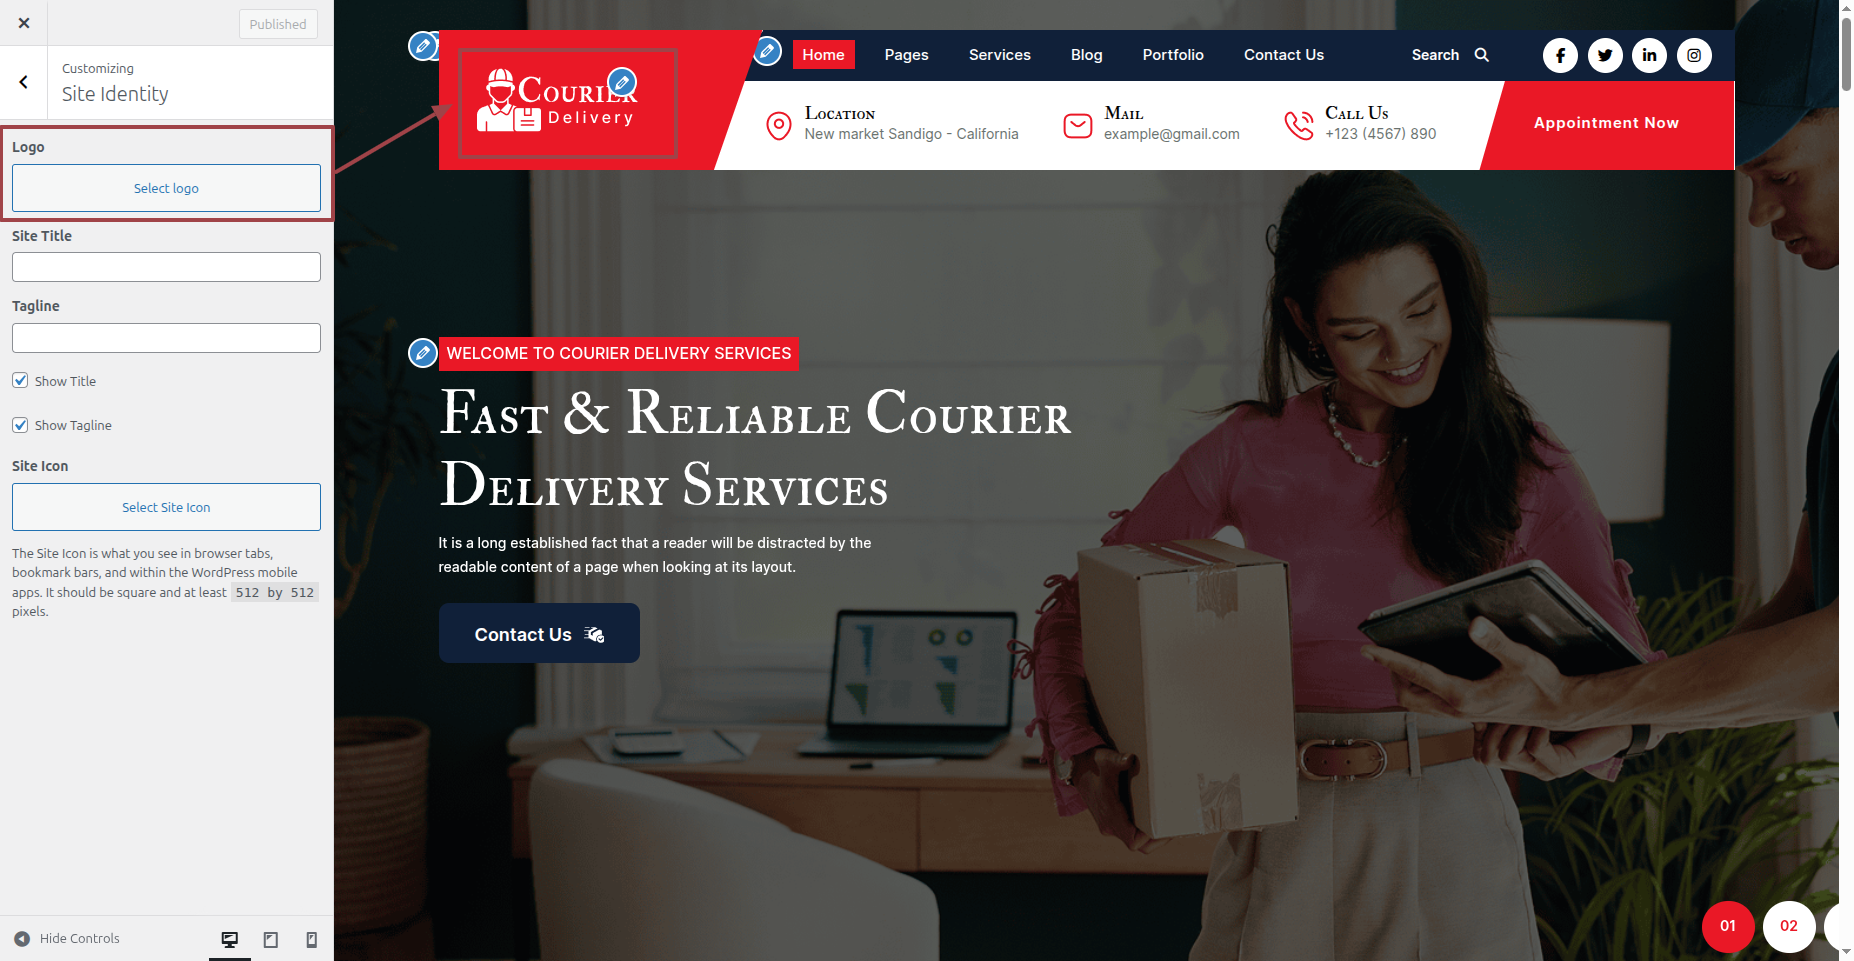
8. Site Identity
This is the portion of the Site Identity reference
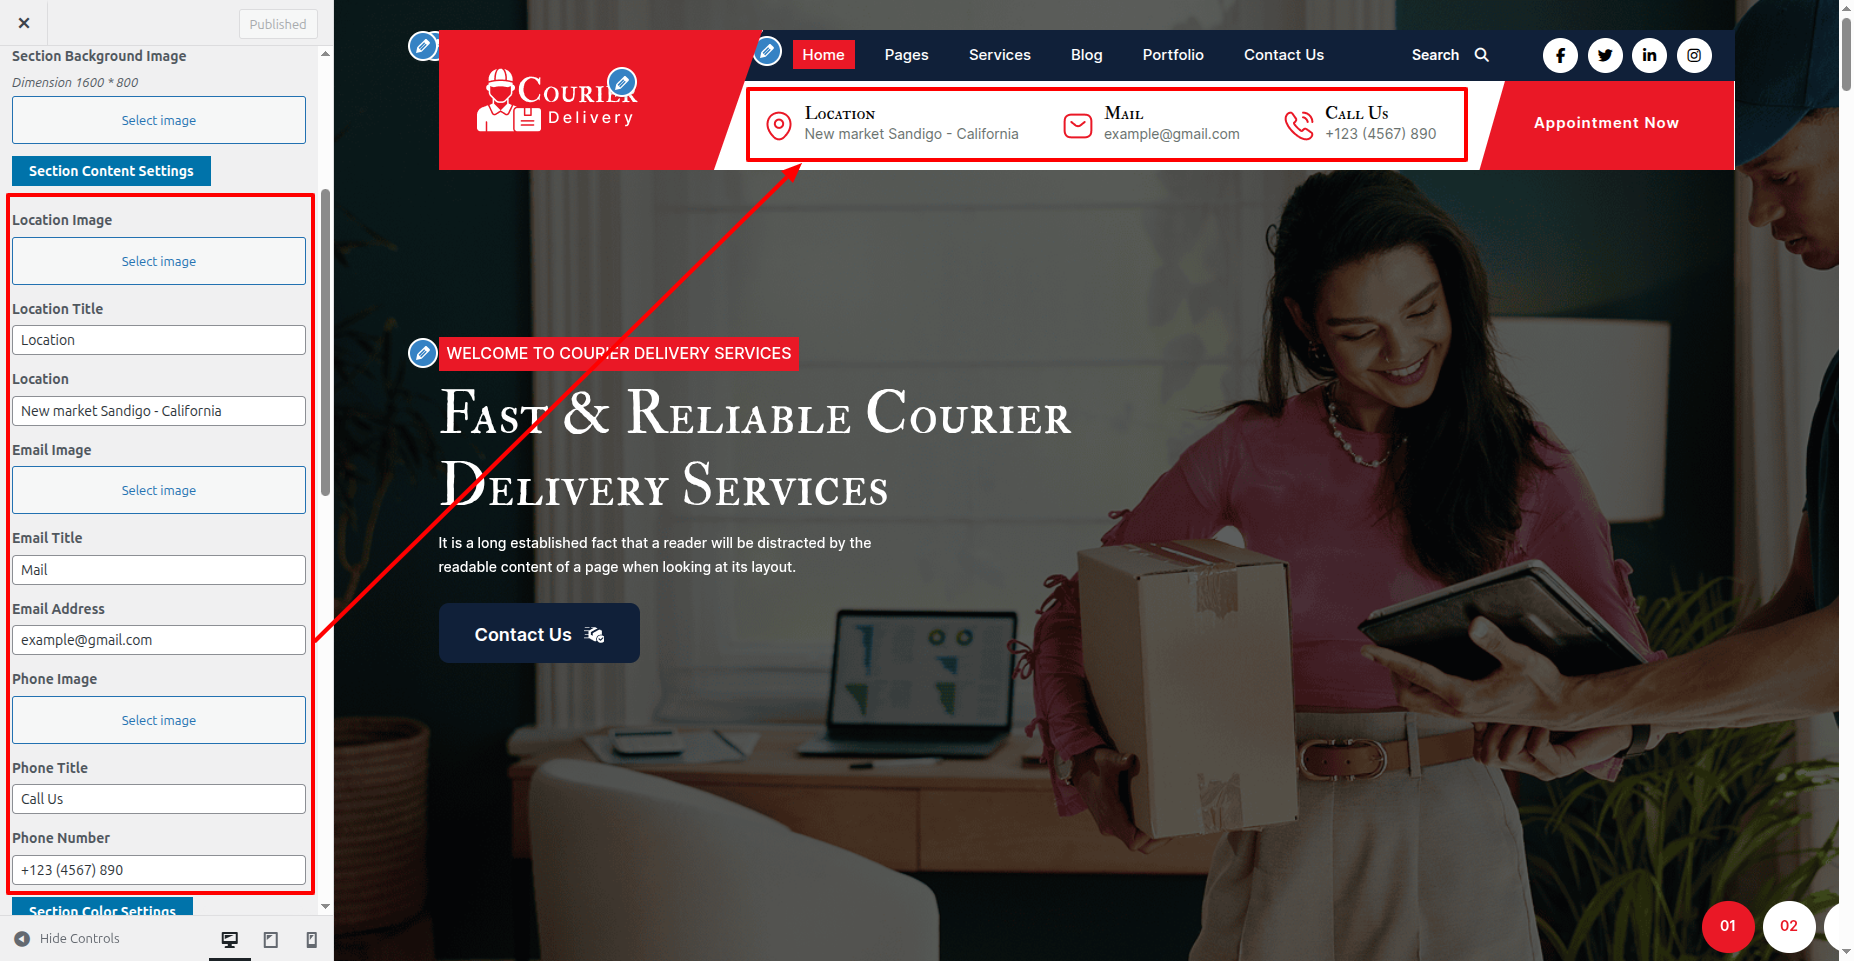
9. Topbar
This is the portion of the Topbar reference

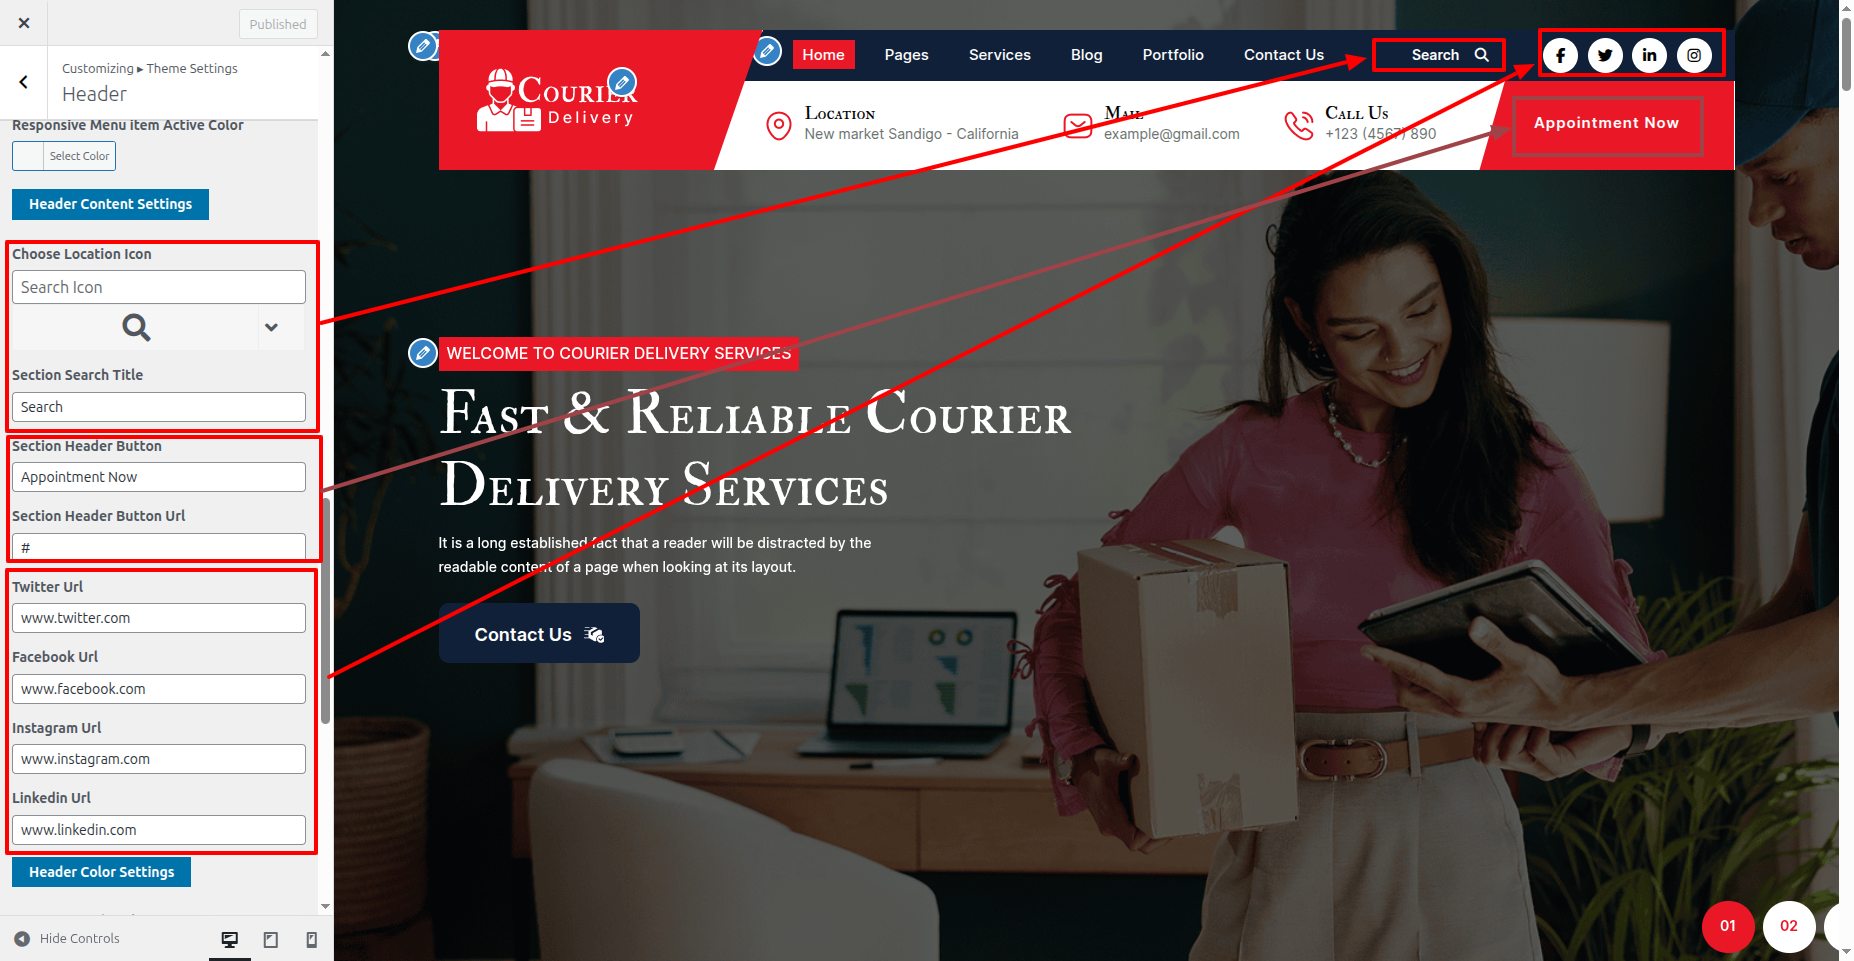
11. Header
This is the portion of the Header reference
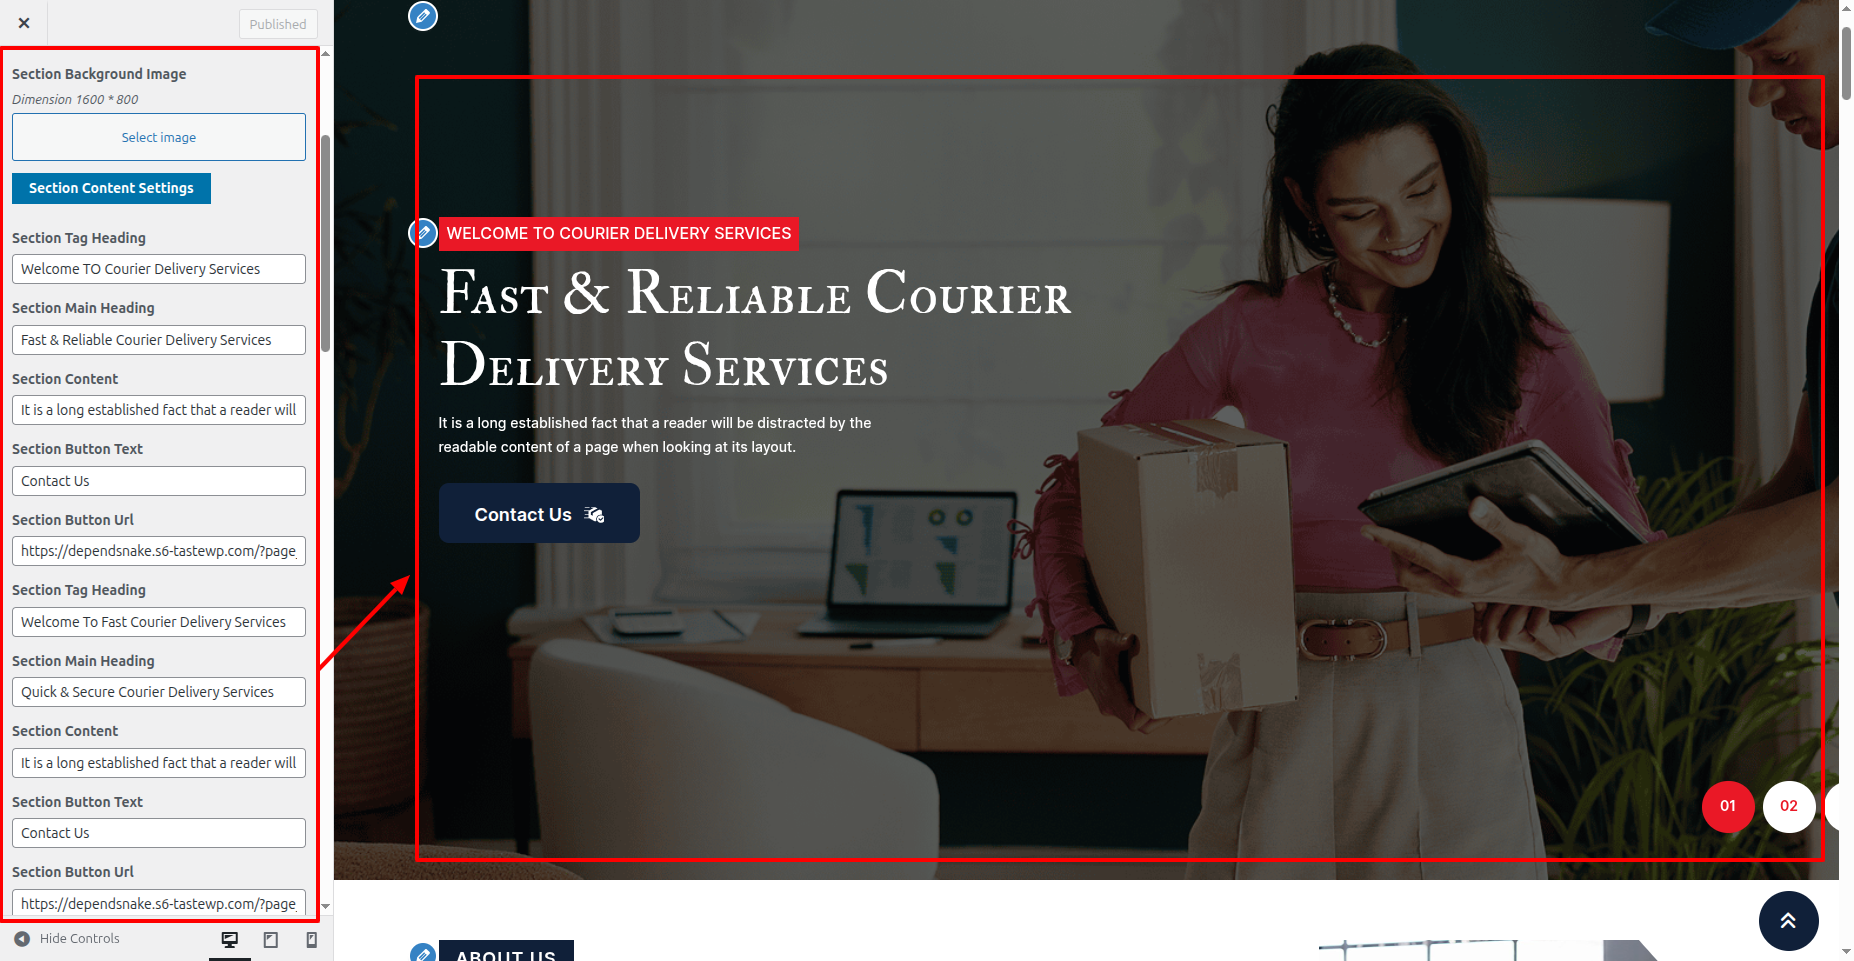
12. Slider
This is the portion of the Slider reference

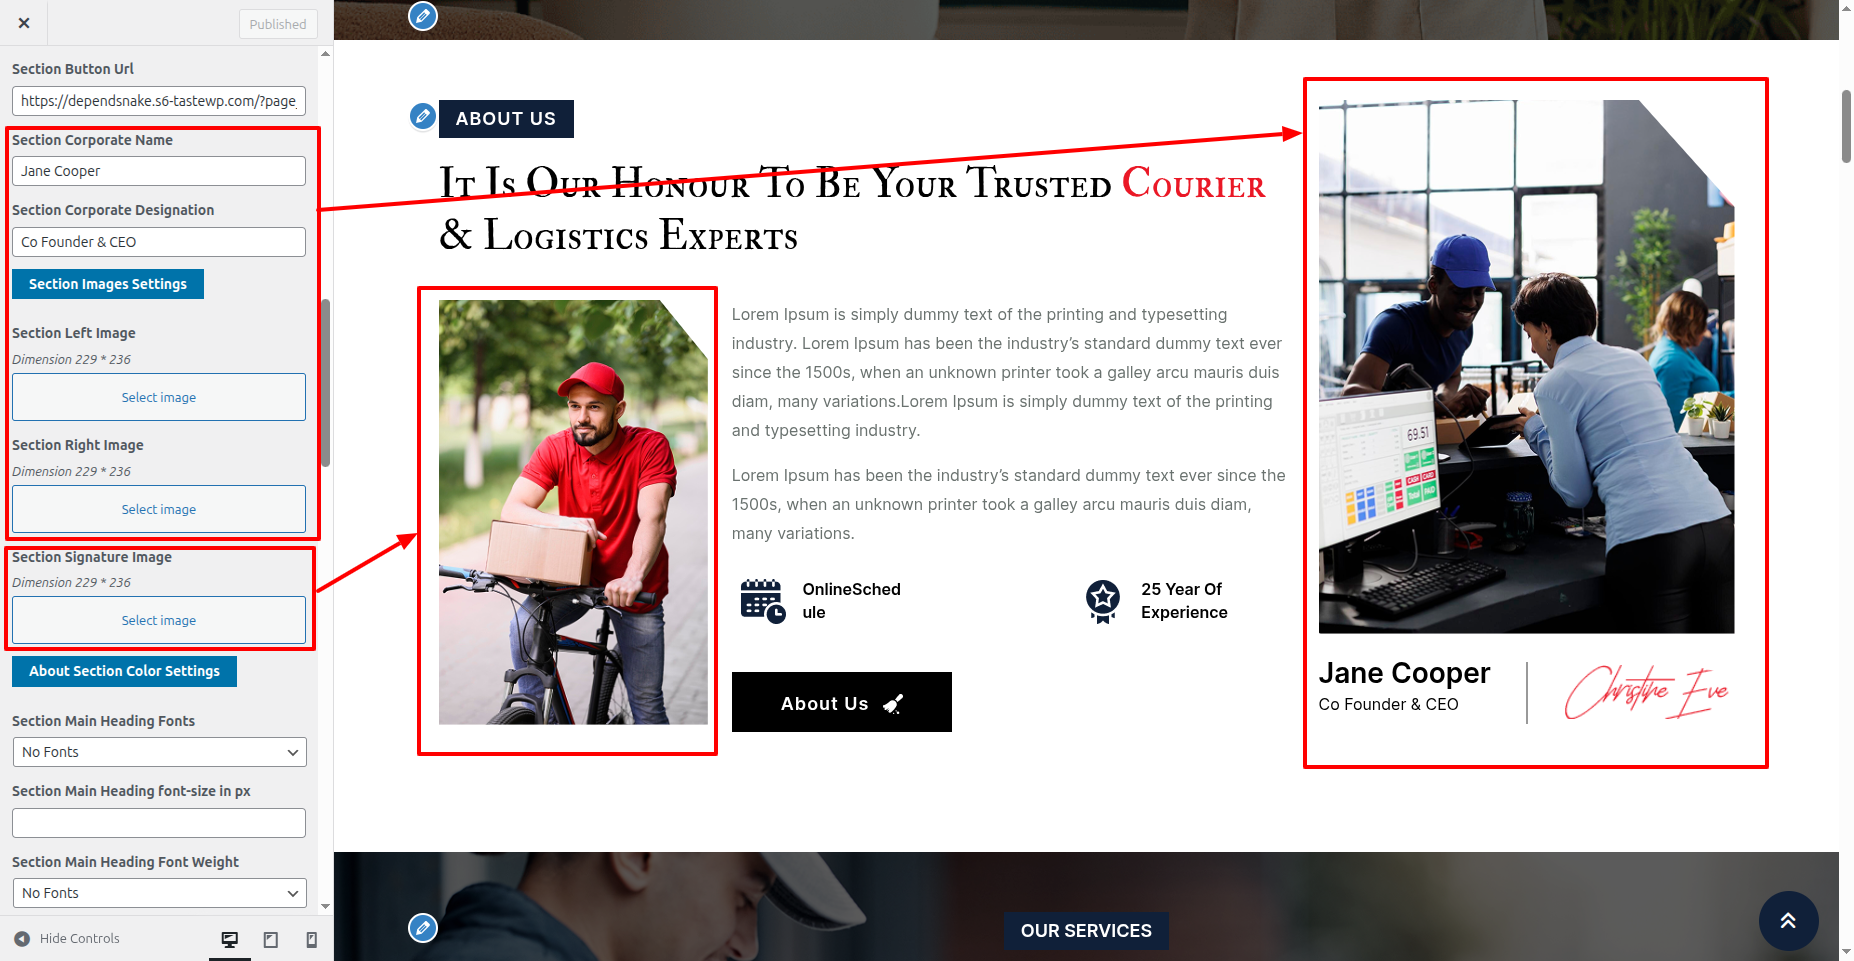
13. About Us
This is the portion of the About Us reference


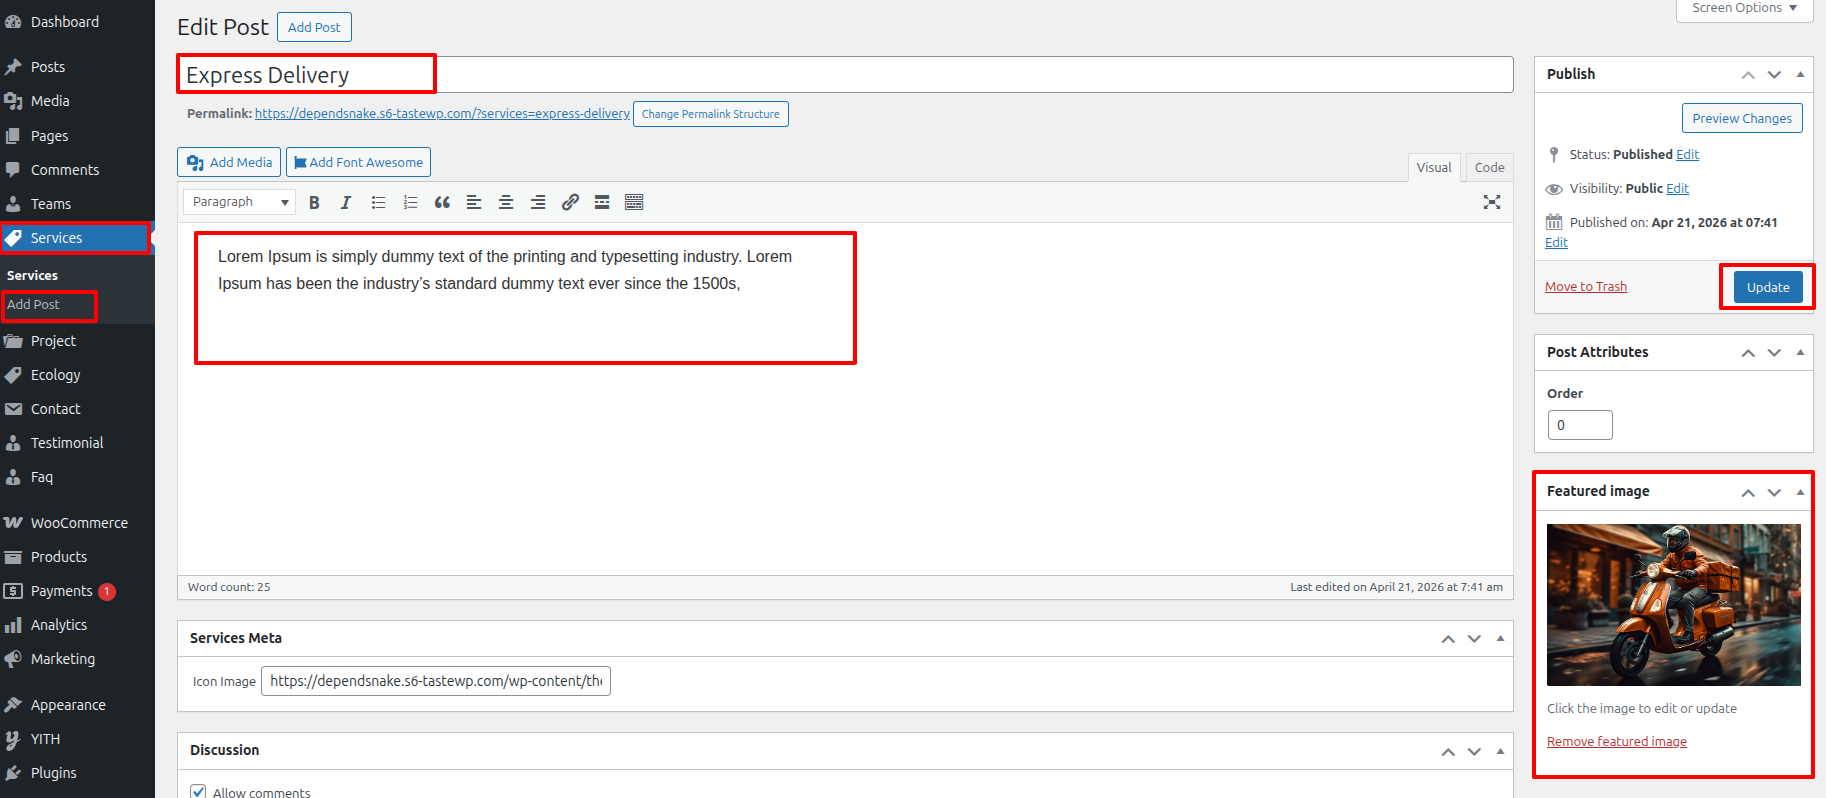
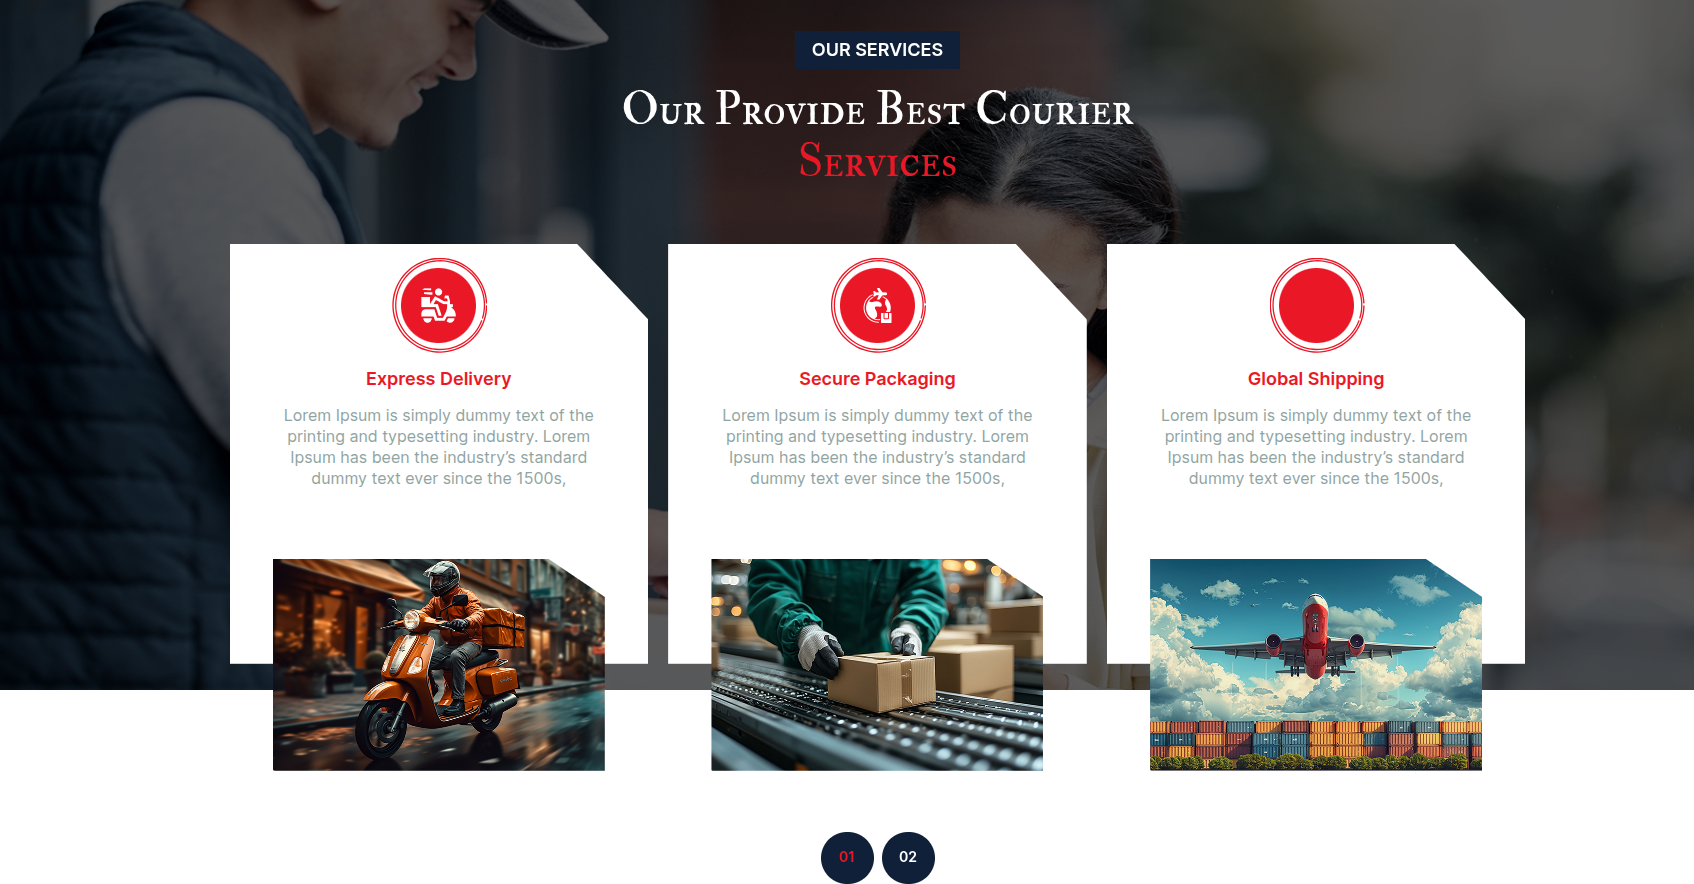
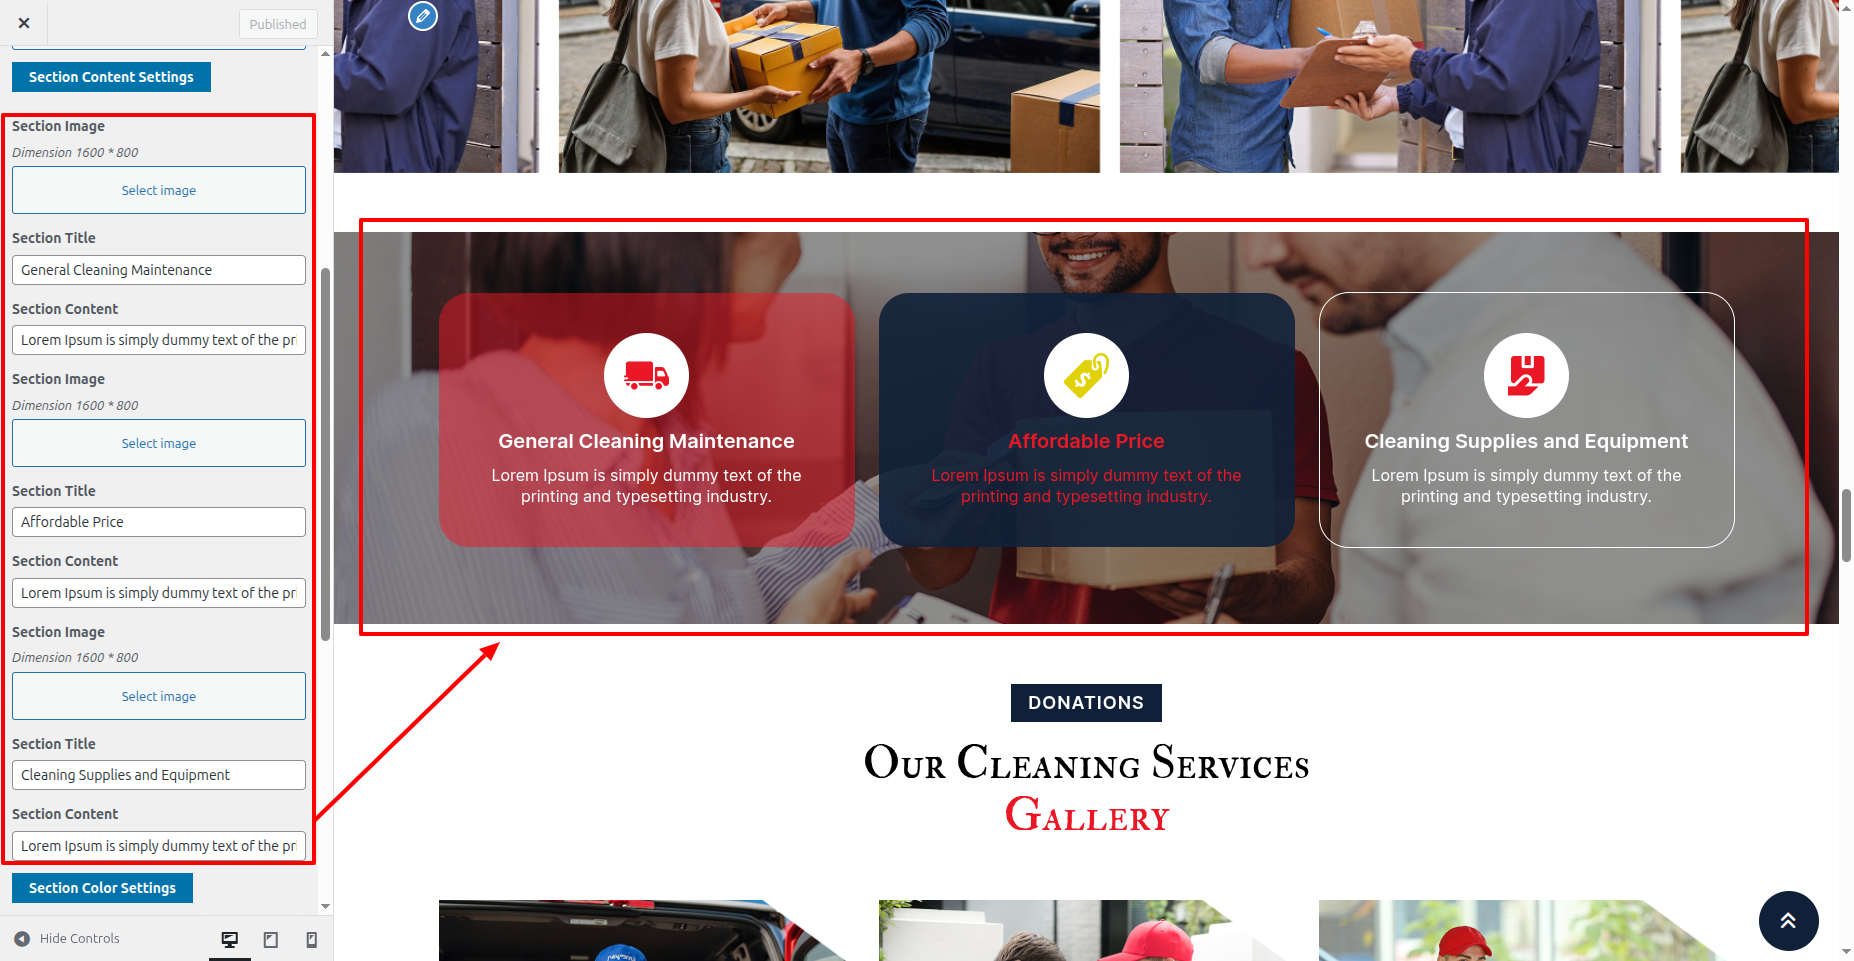
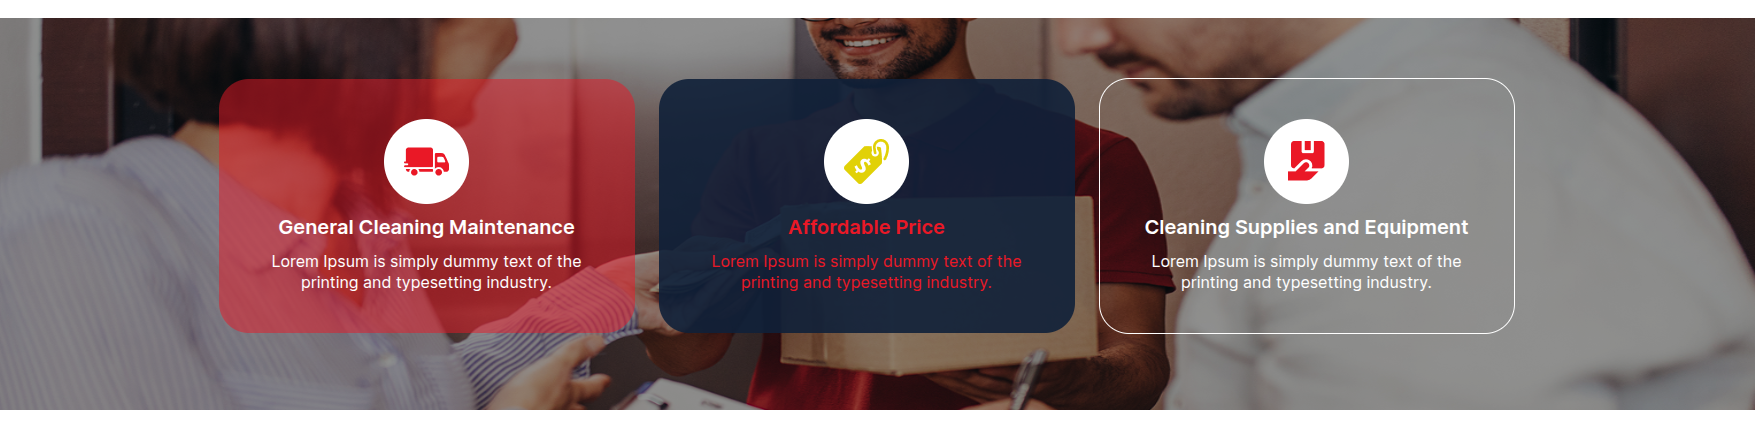
14. Services
This is the portion of the Services reference

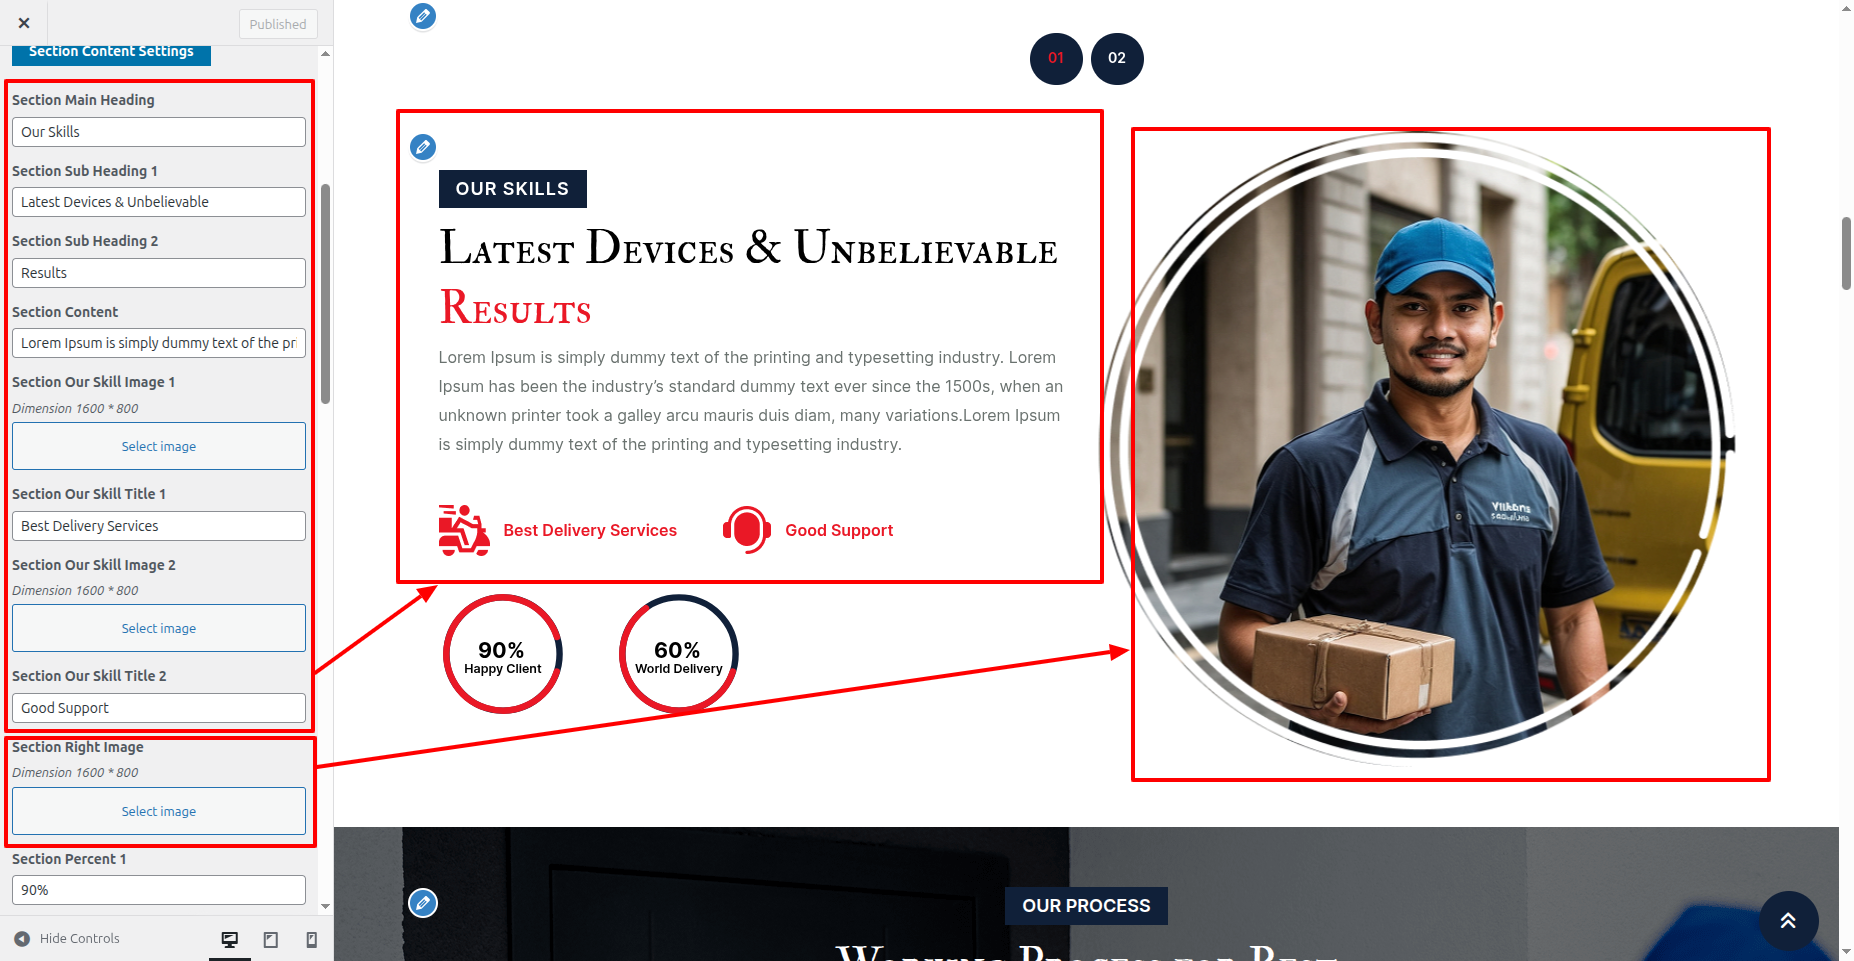
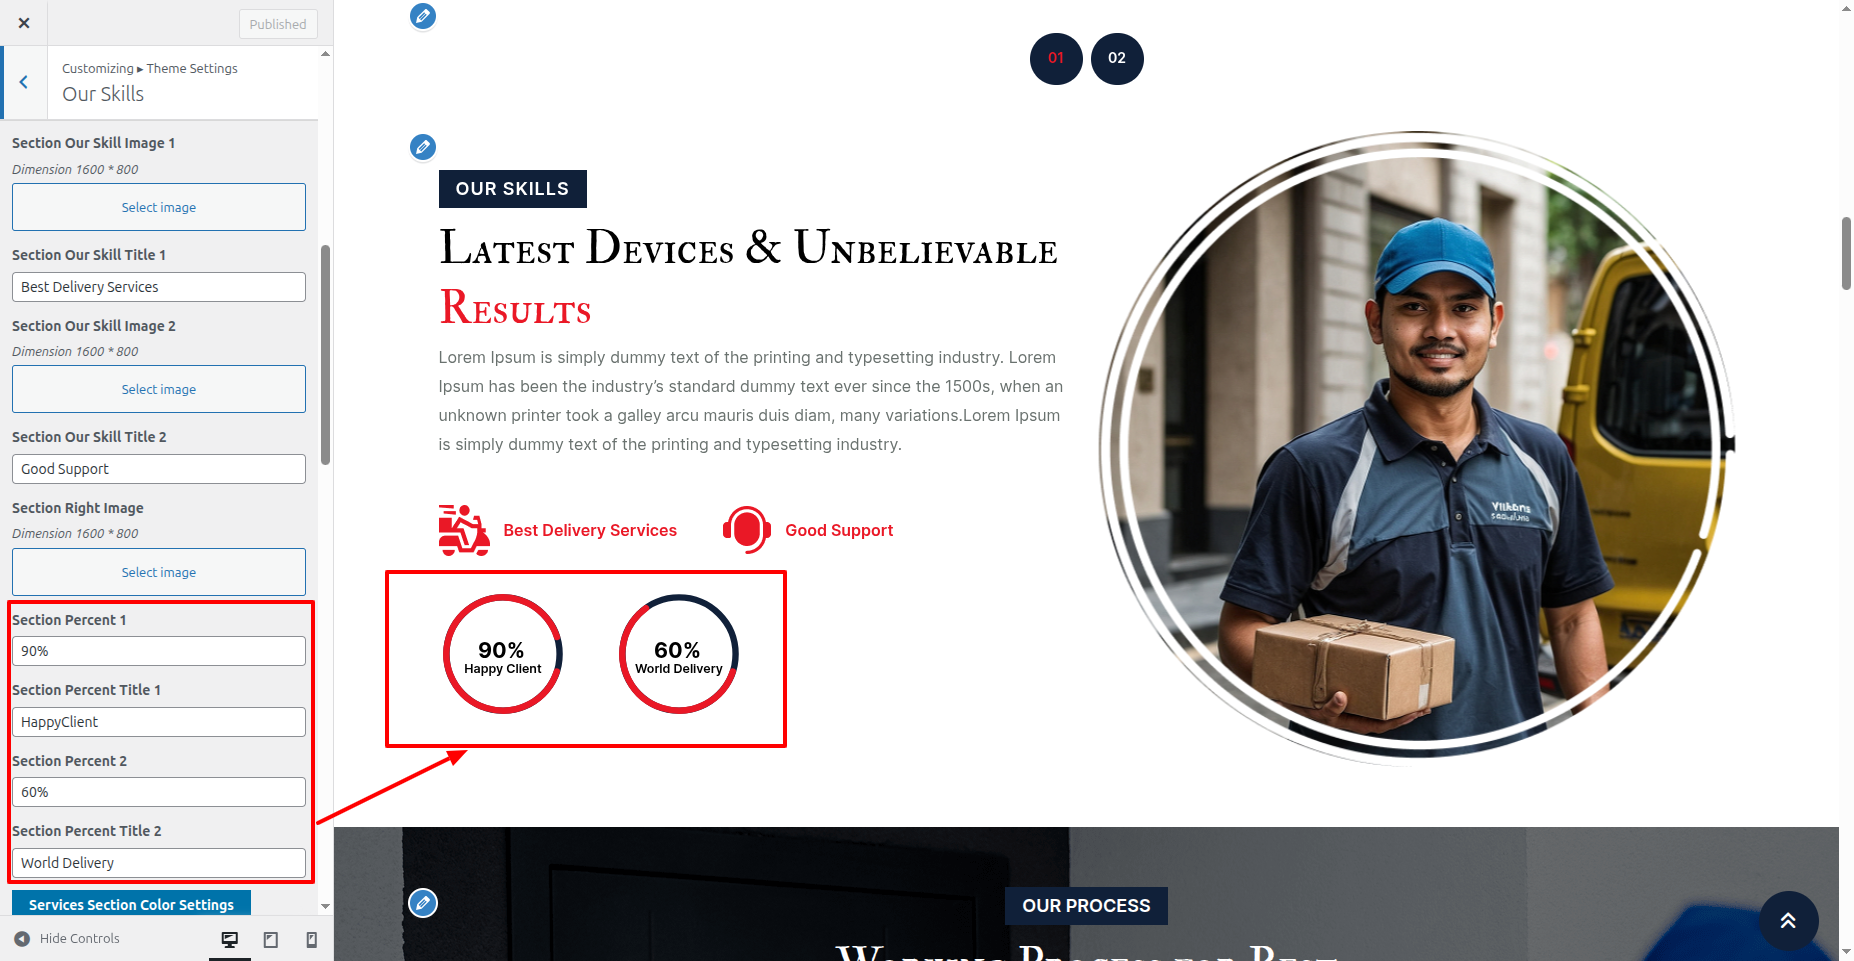
15. Our Skills
This is the portion of the Our Skills reference

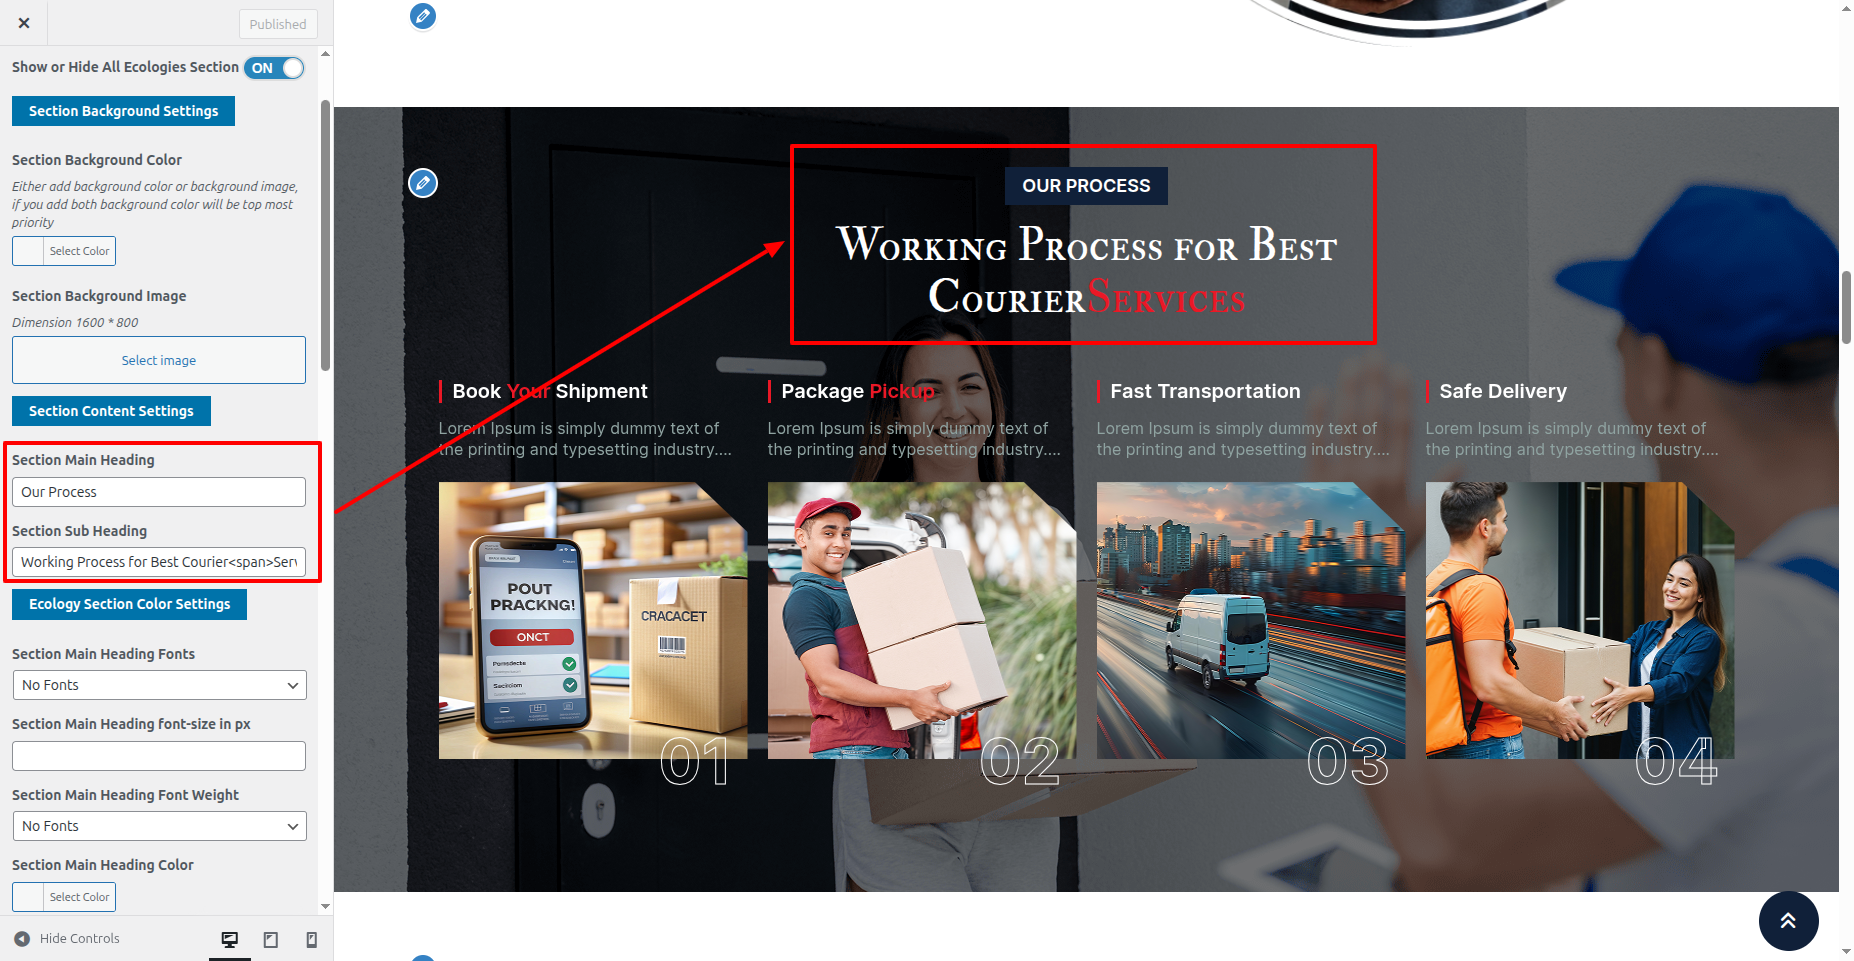
16. Our Process
This is the portion of the Our Process reference

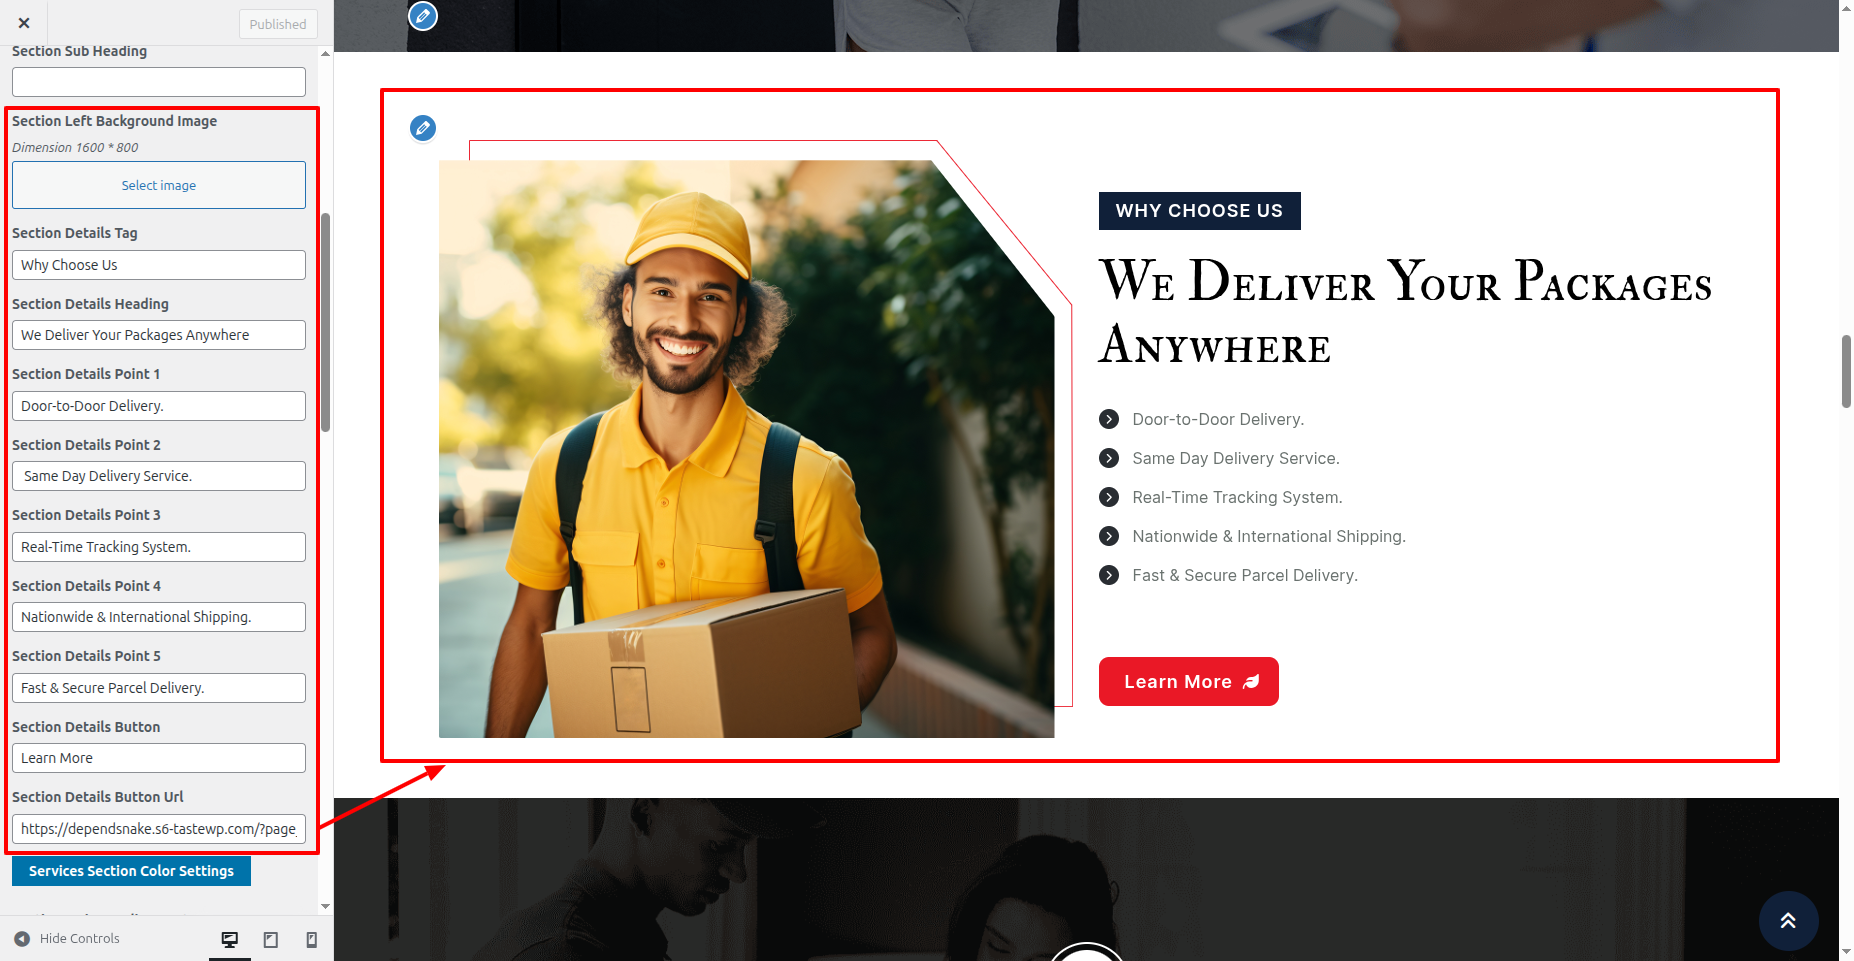
17. Choose Us
This is the portion of the Choose Us reference

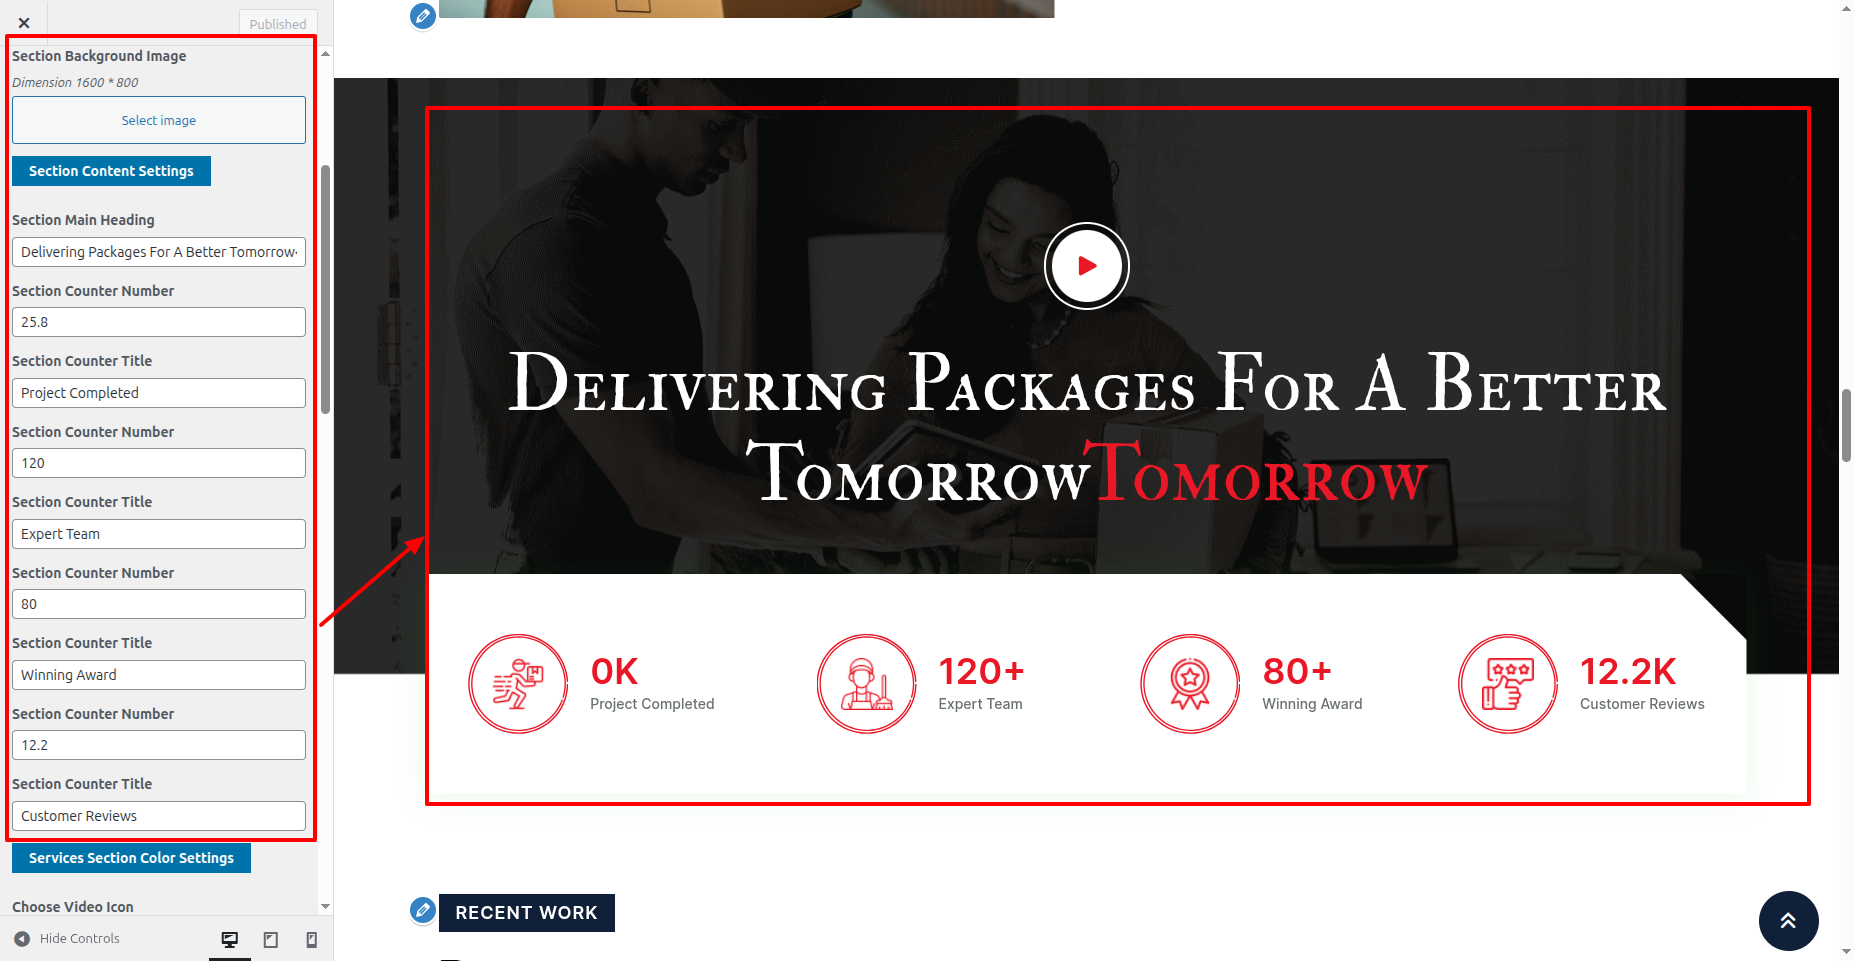
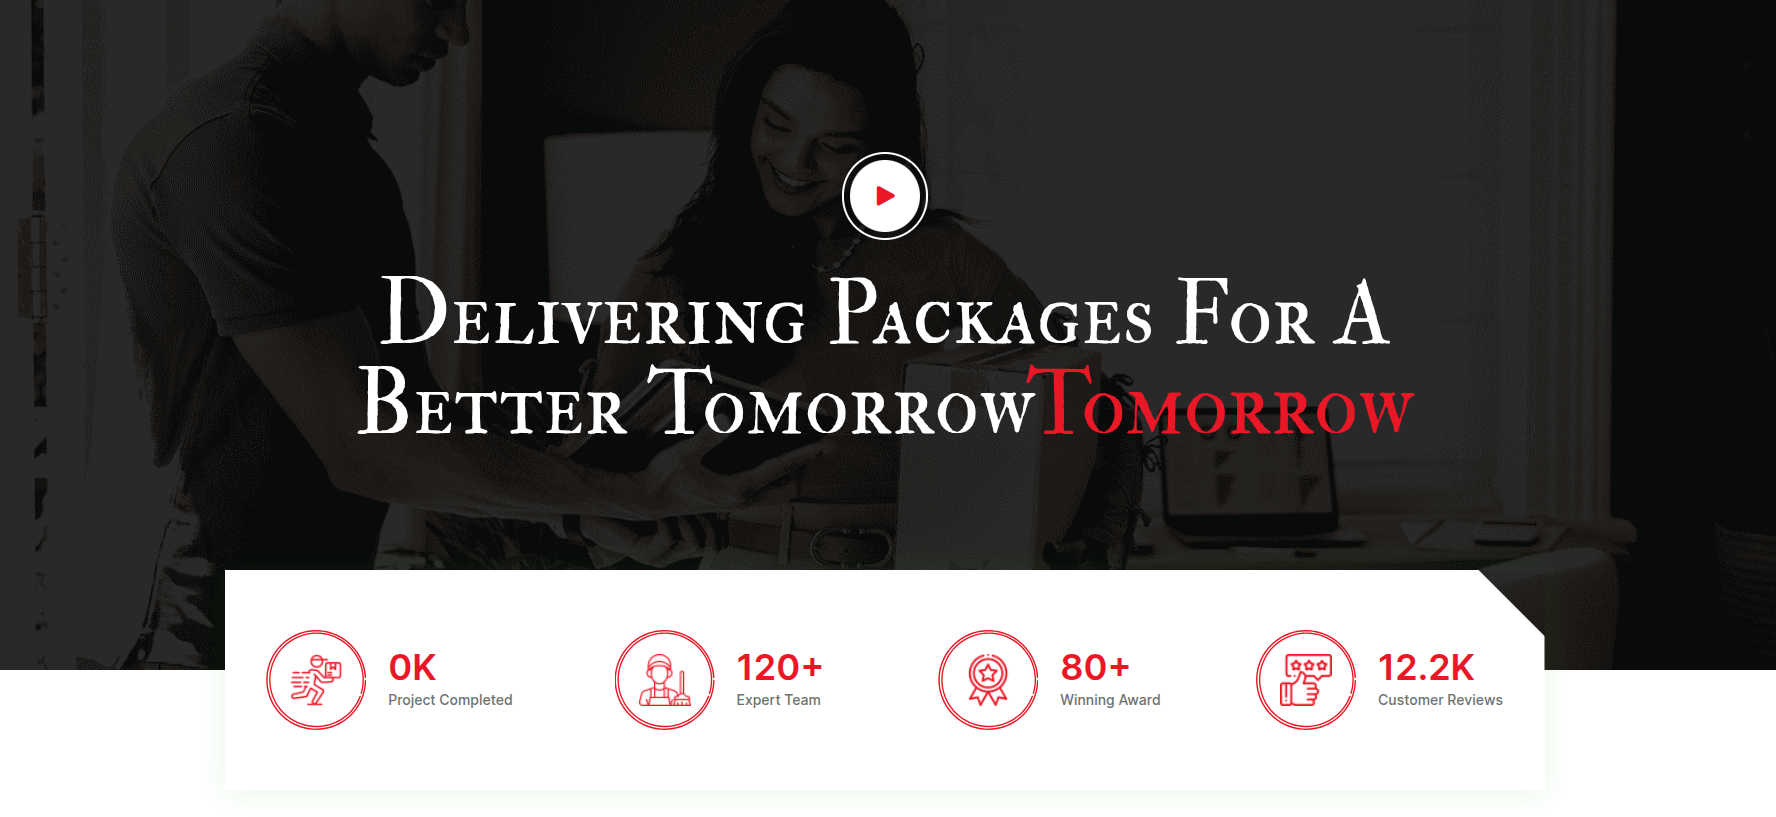
18. Counter
This is the portion of the Counter reference
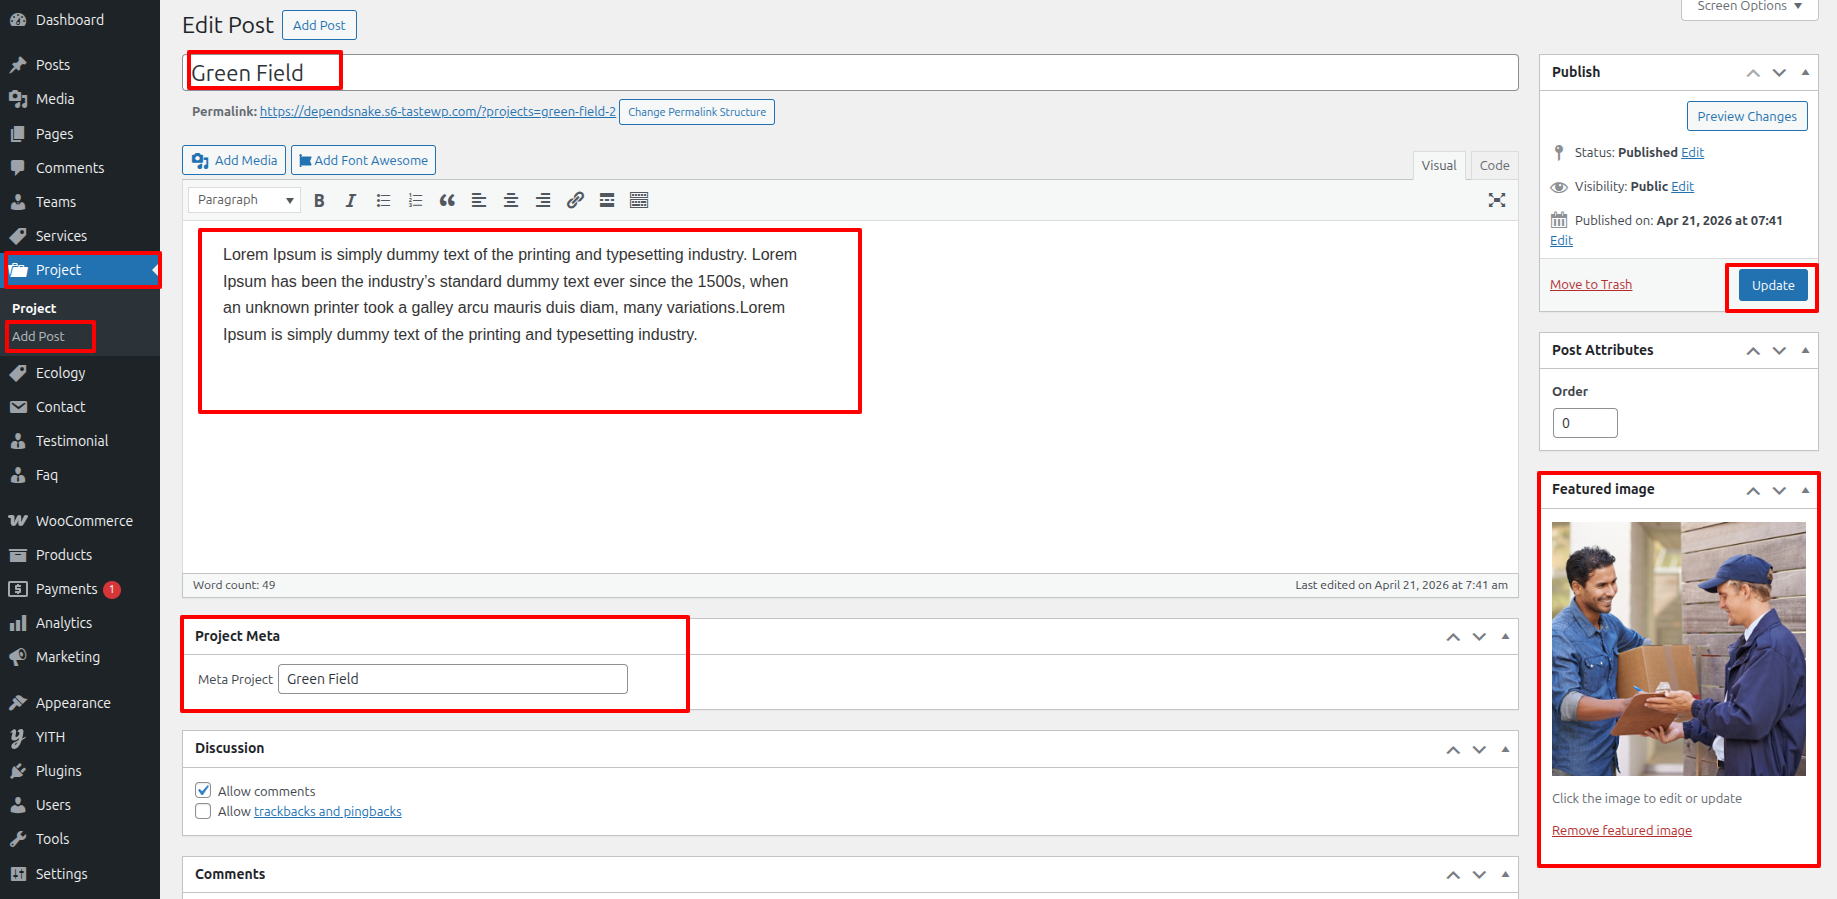
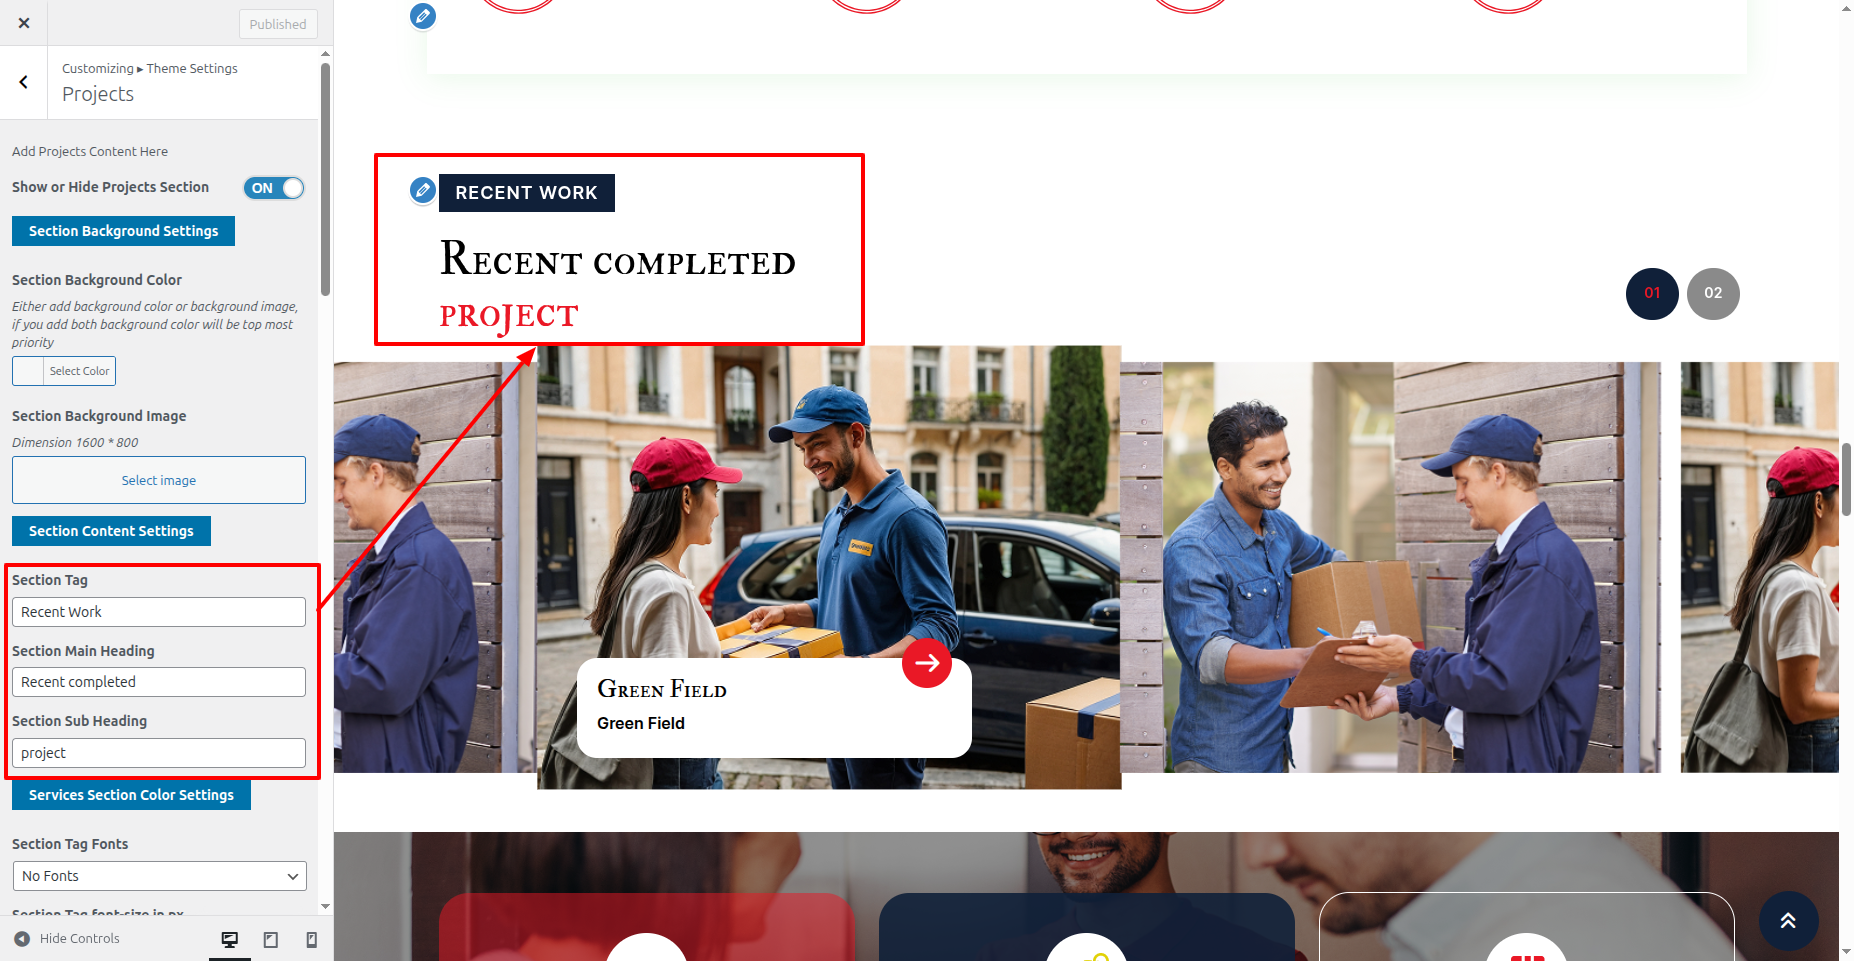
19. Projects
This is the portion of the Projects reference

20. About Ecology
This is the portion of the About Ecology reference
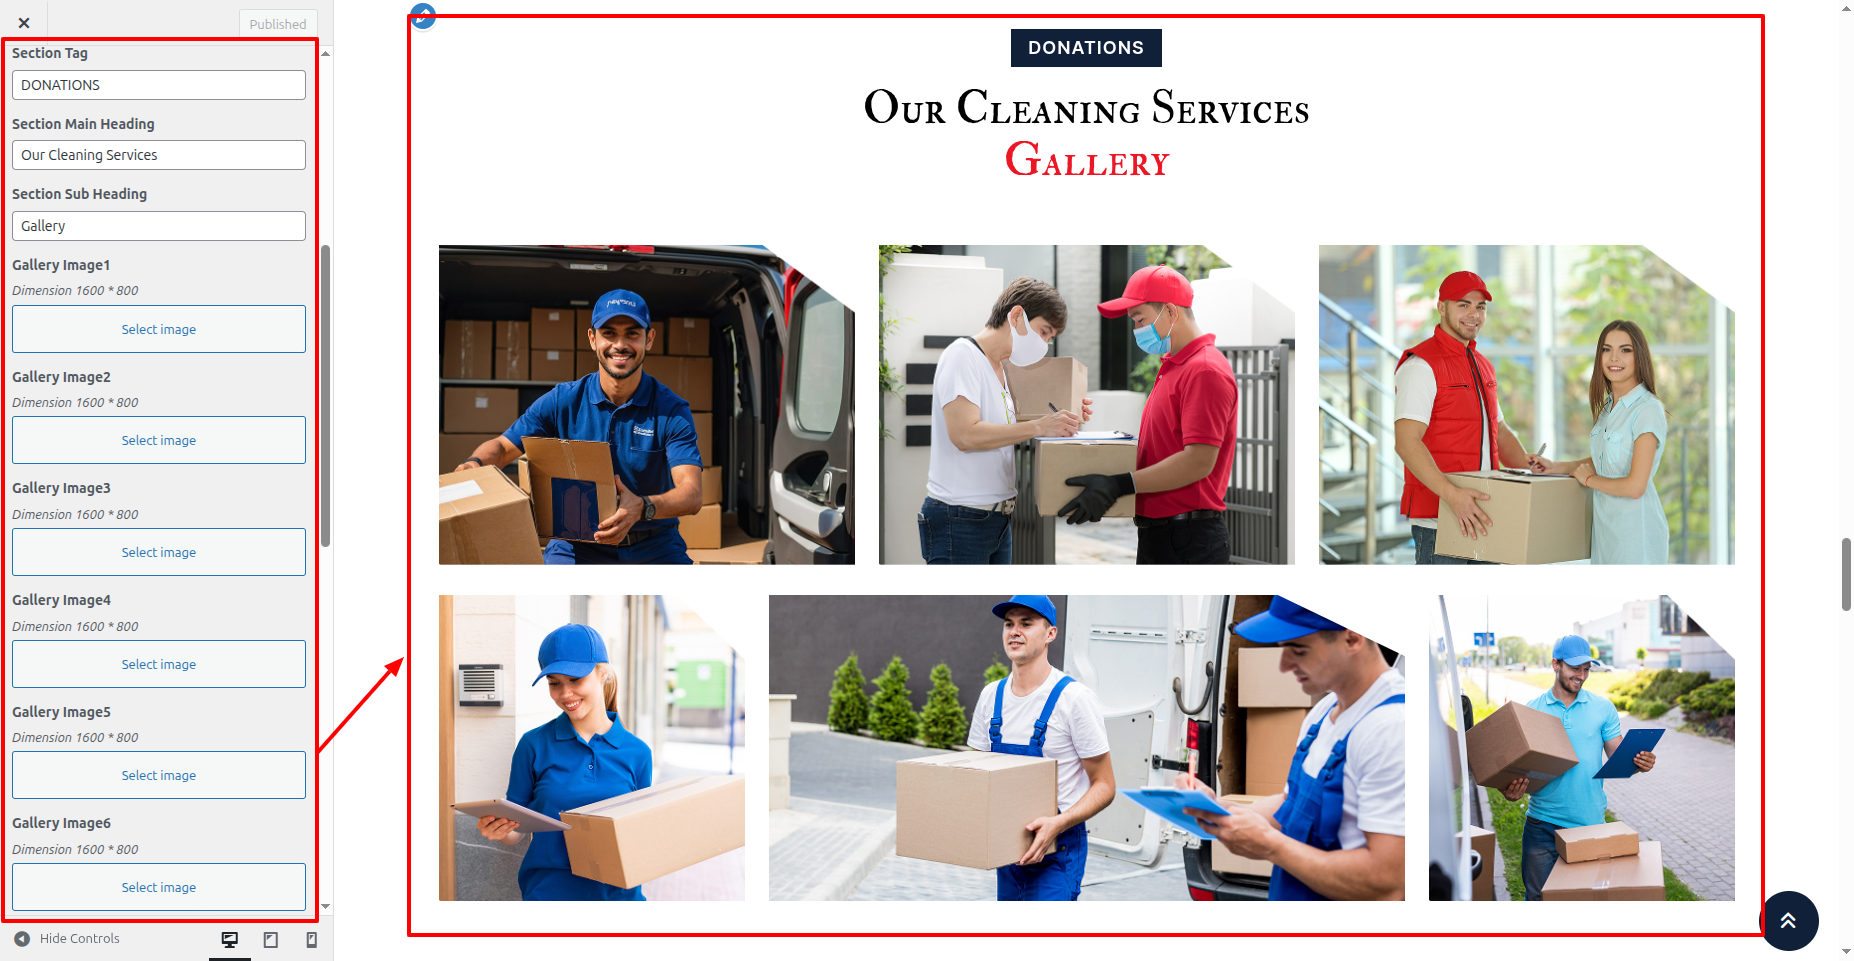
21. Gallery
This is the portion of the Gallery reference

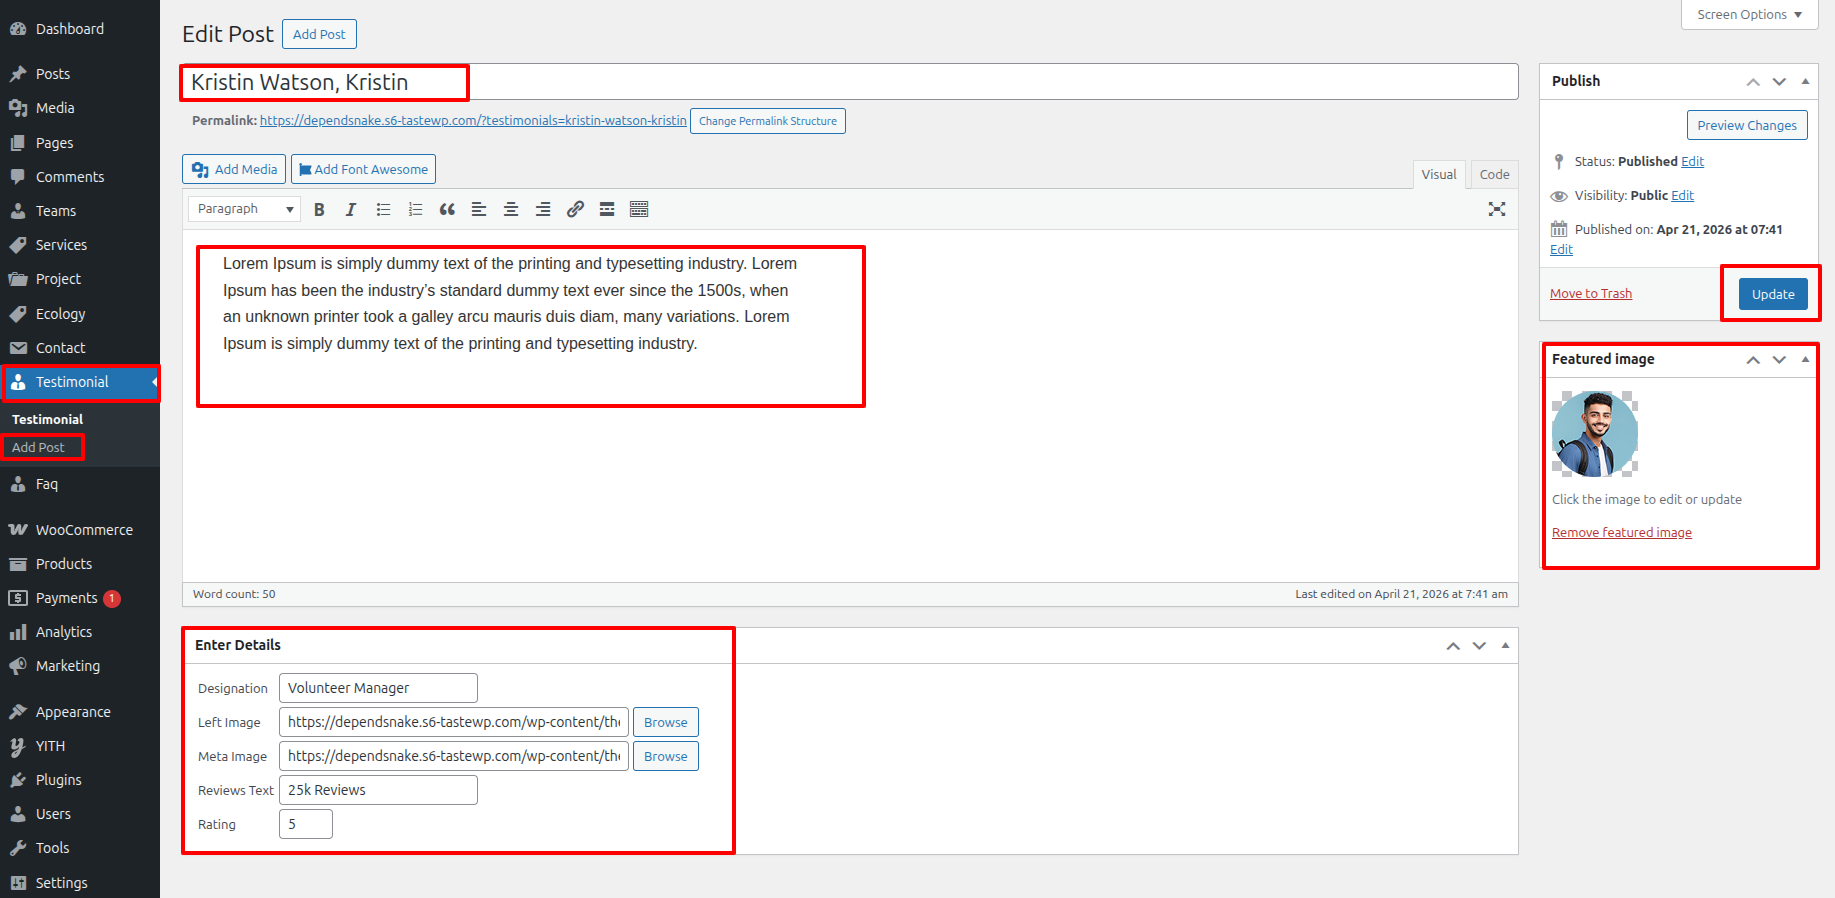
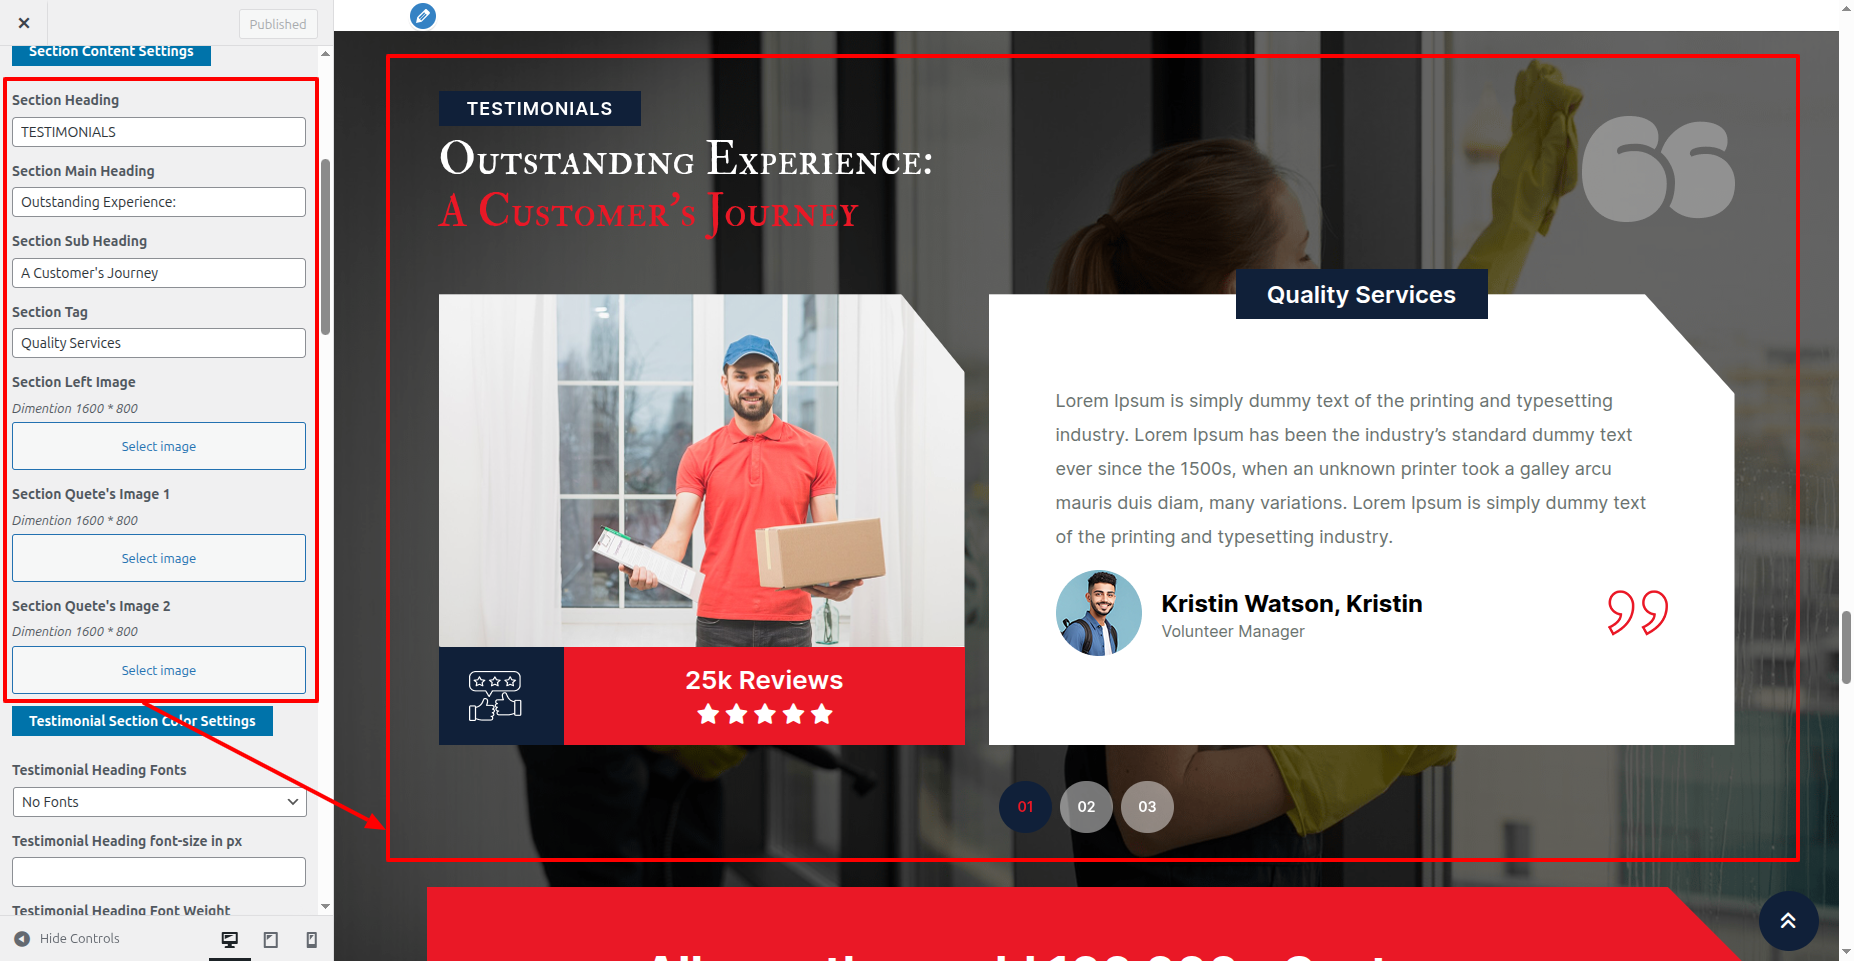
22. Testimonial
This is the portion of the Testimonial reference

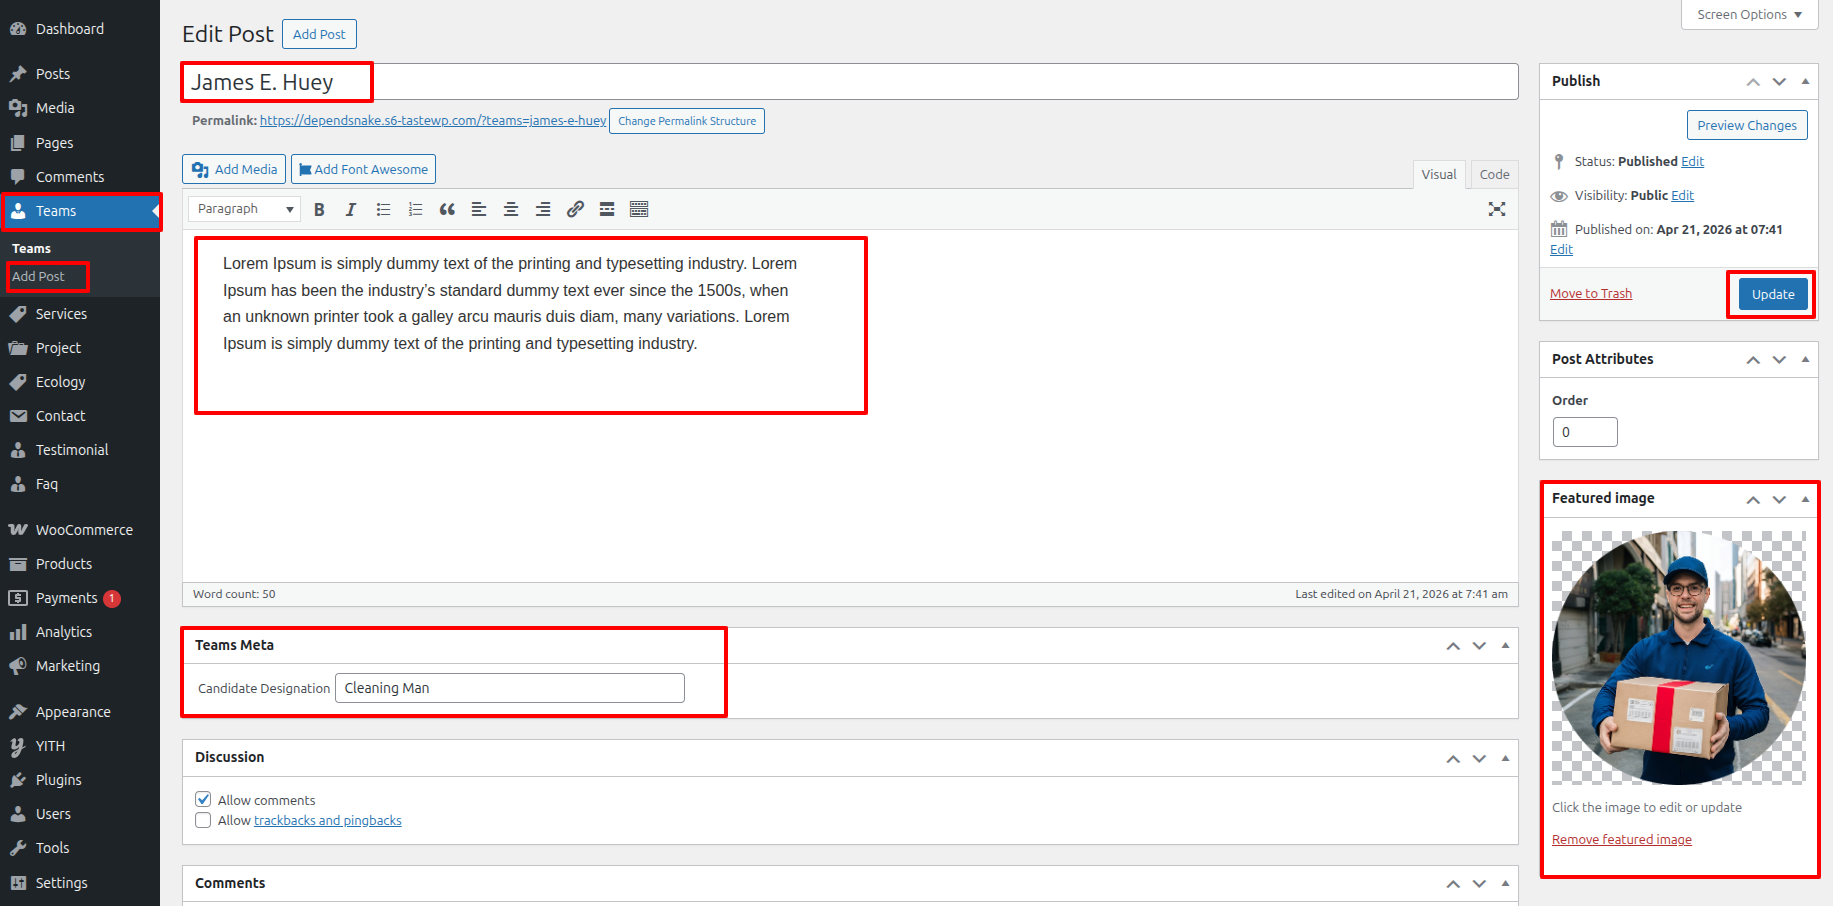
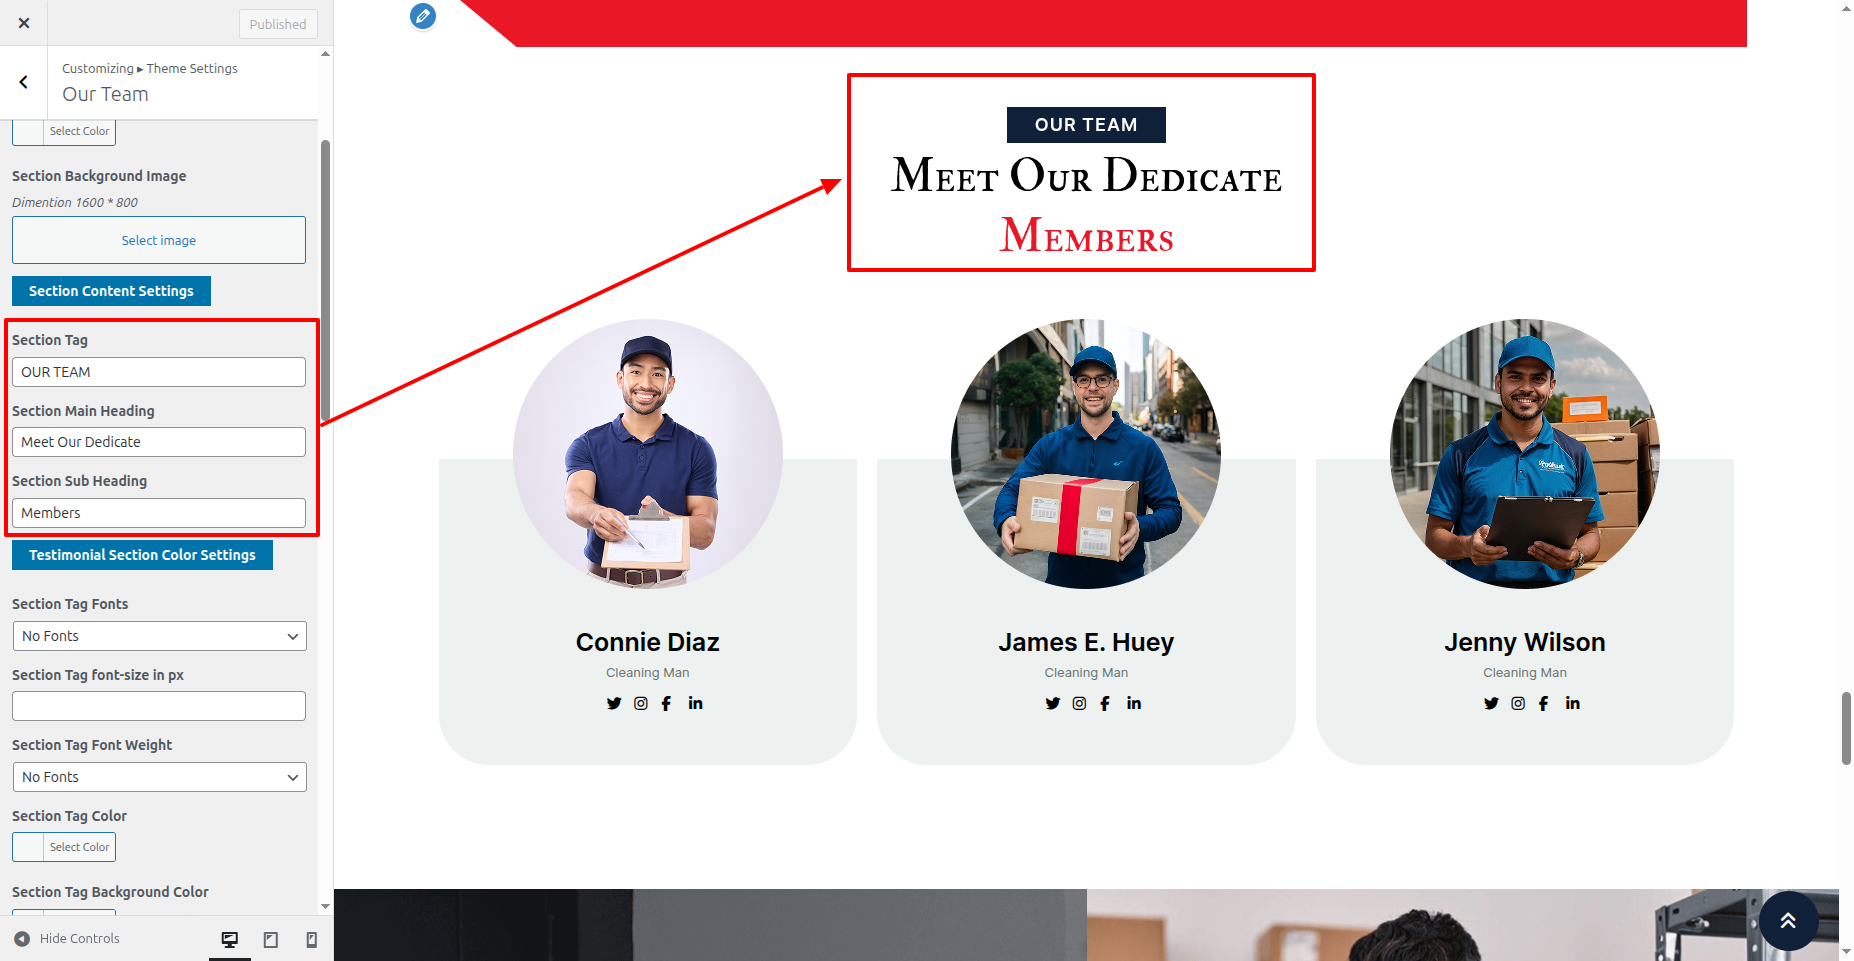
23. Our Team
This is the portion of the Our Team reference

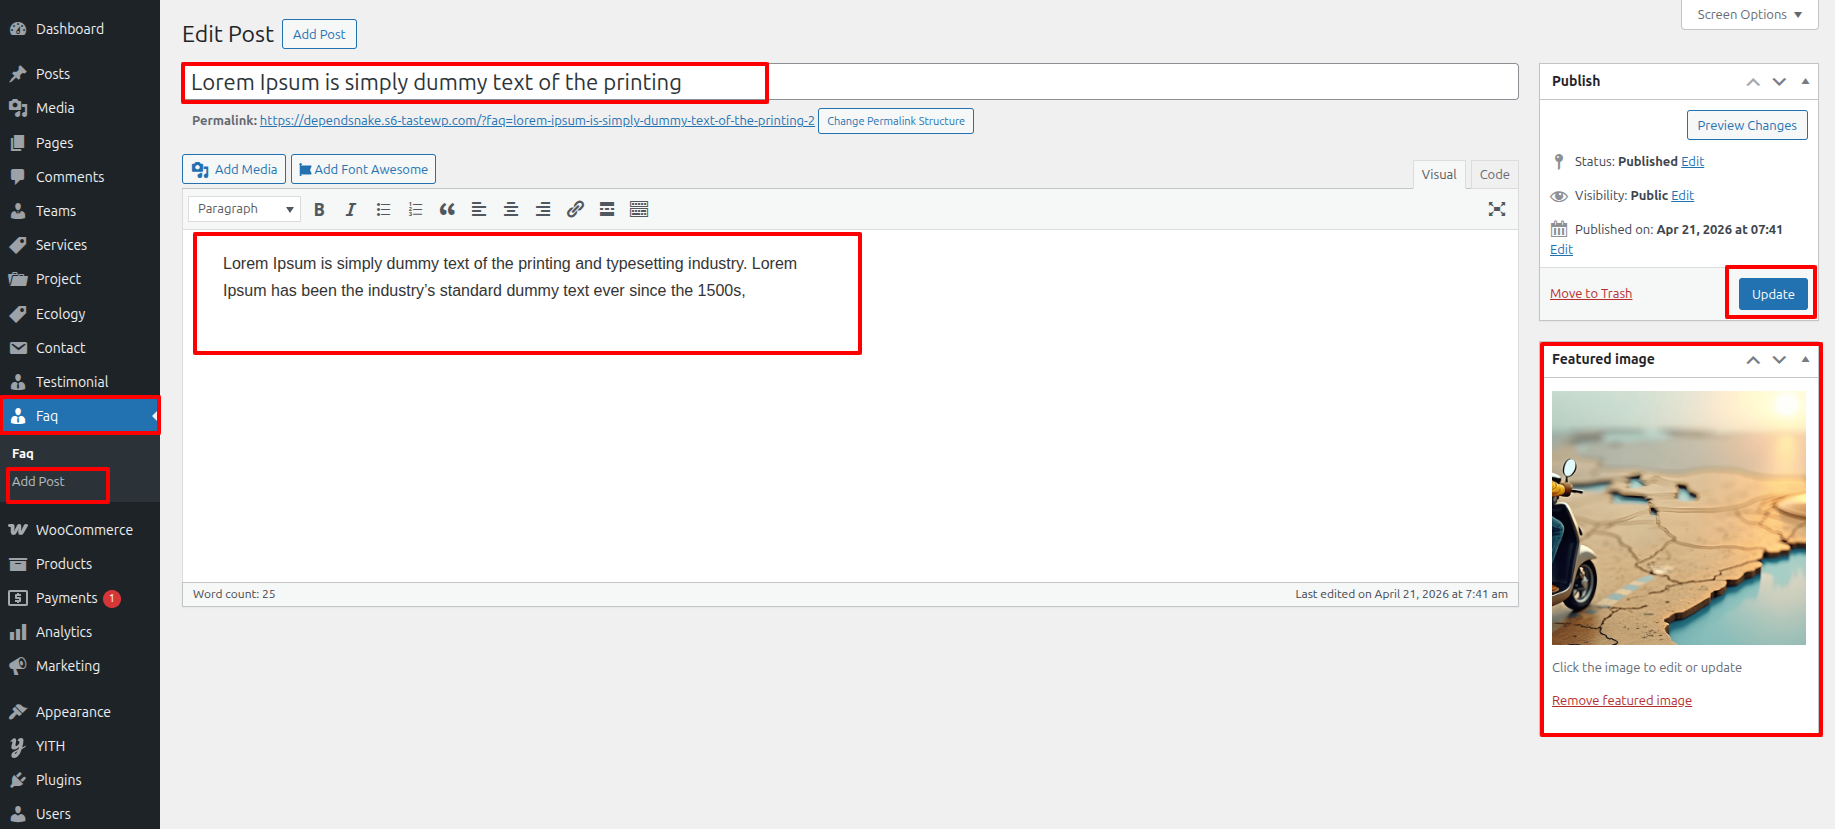
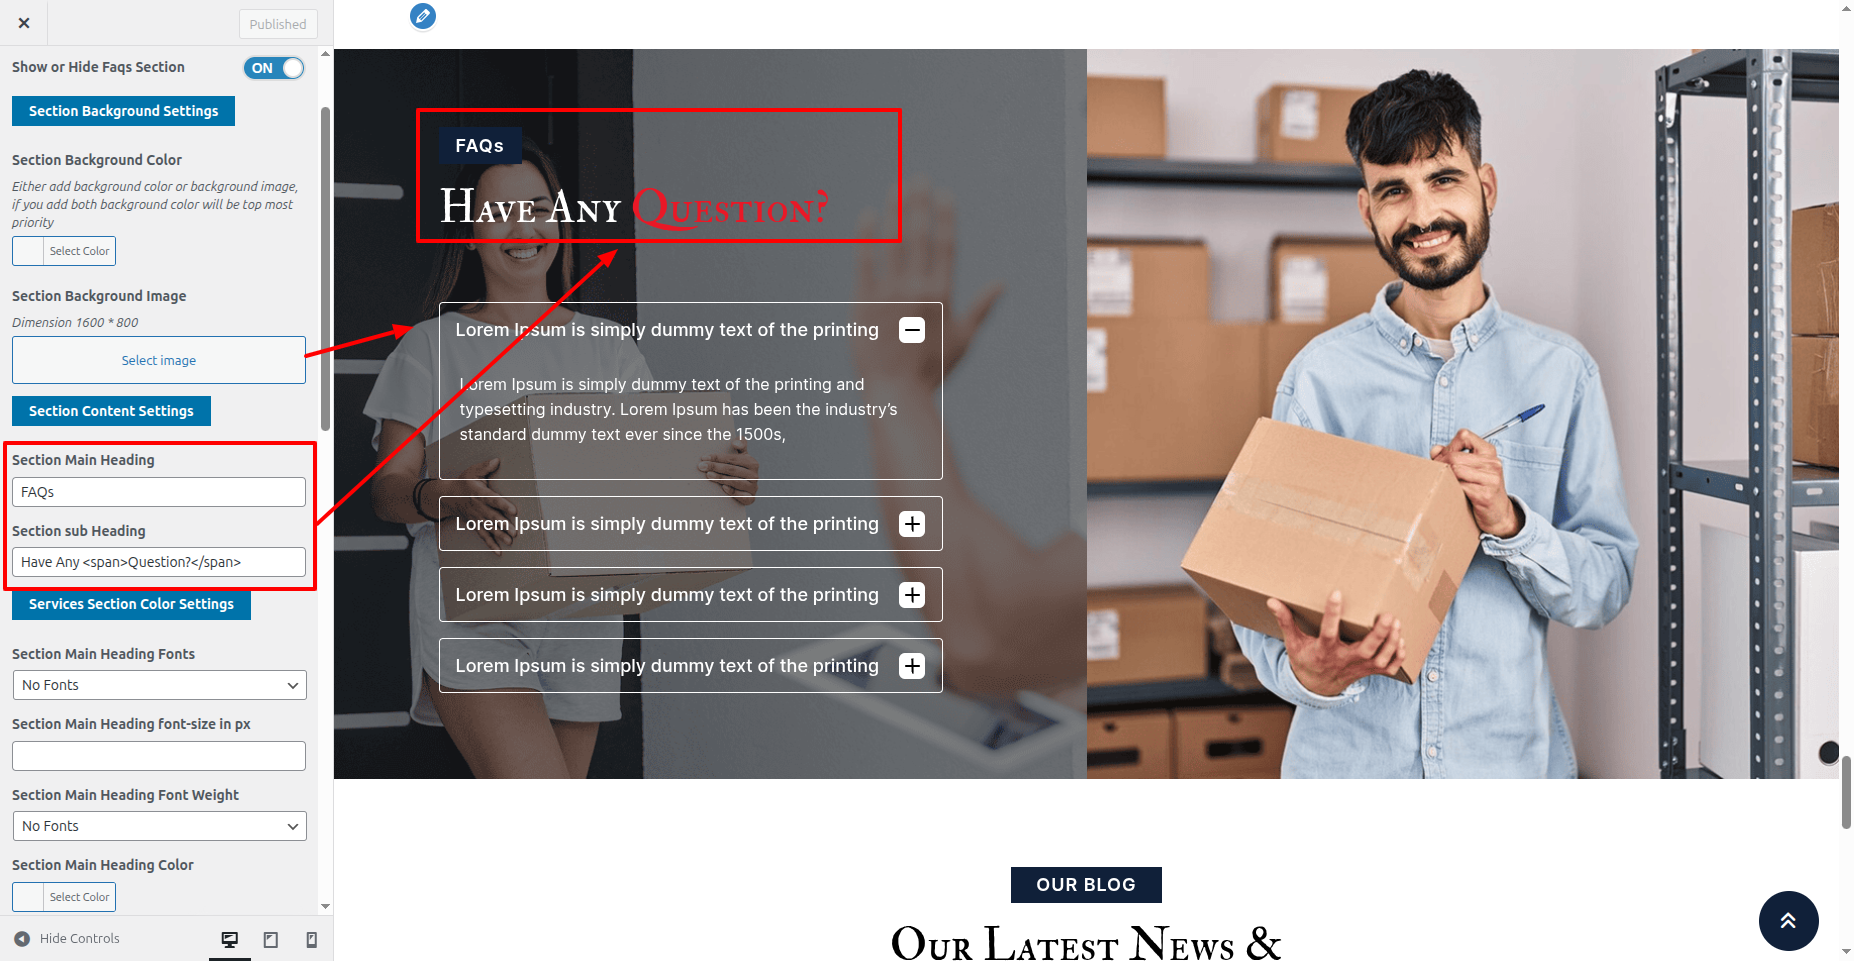
24. Faqs
This is the portion of the Faqs reference

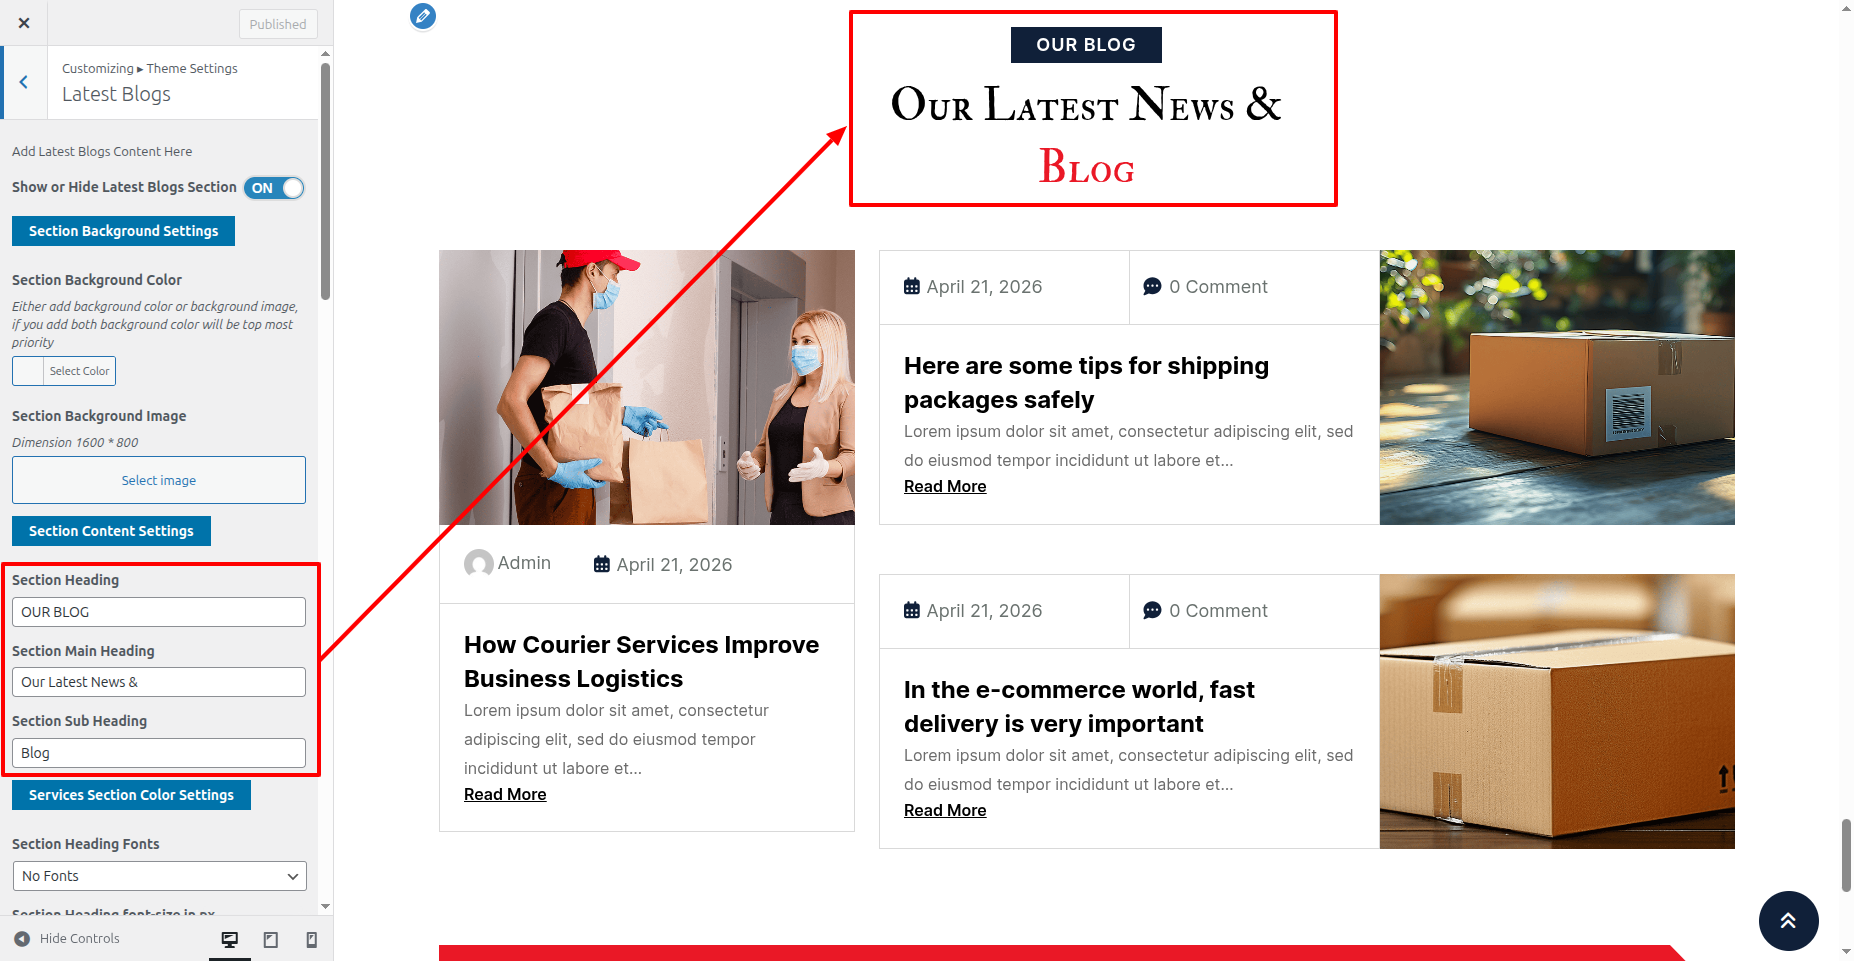
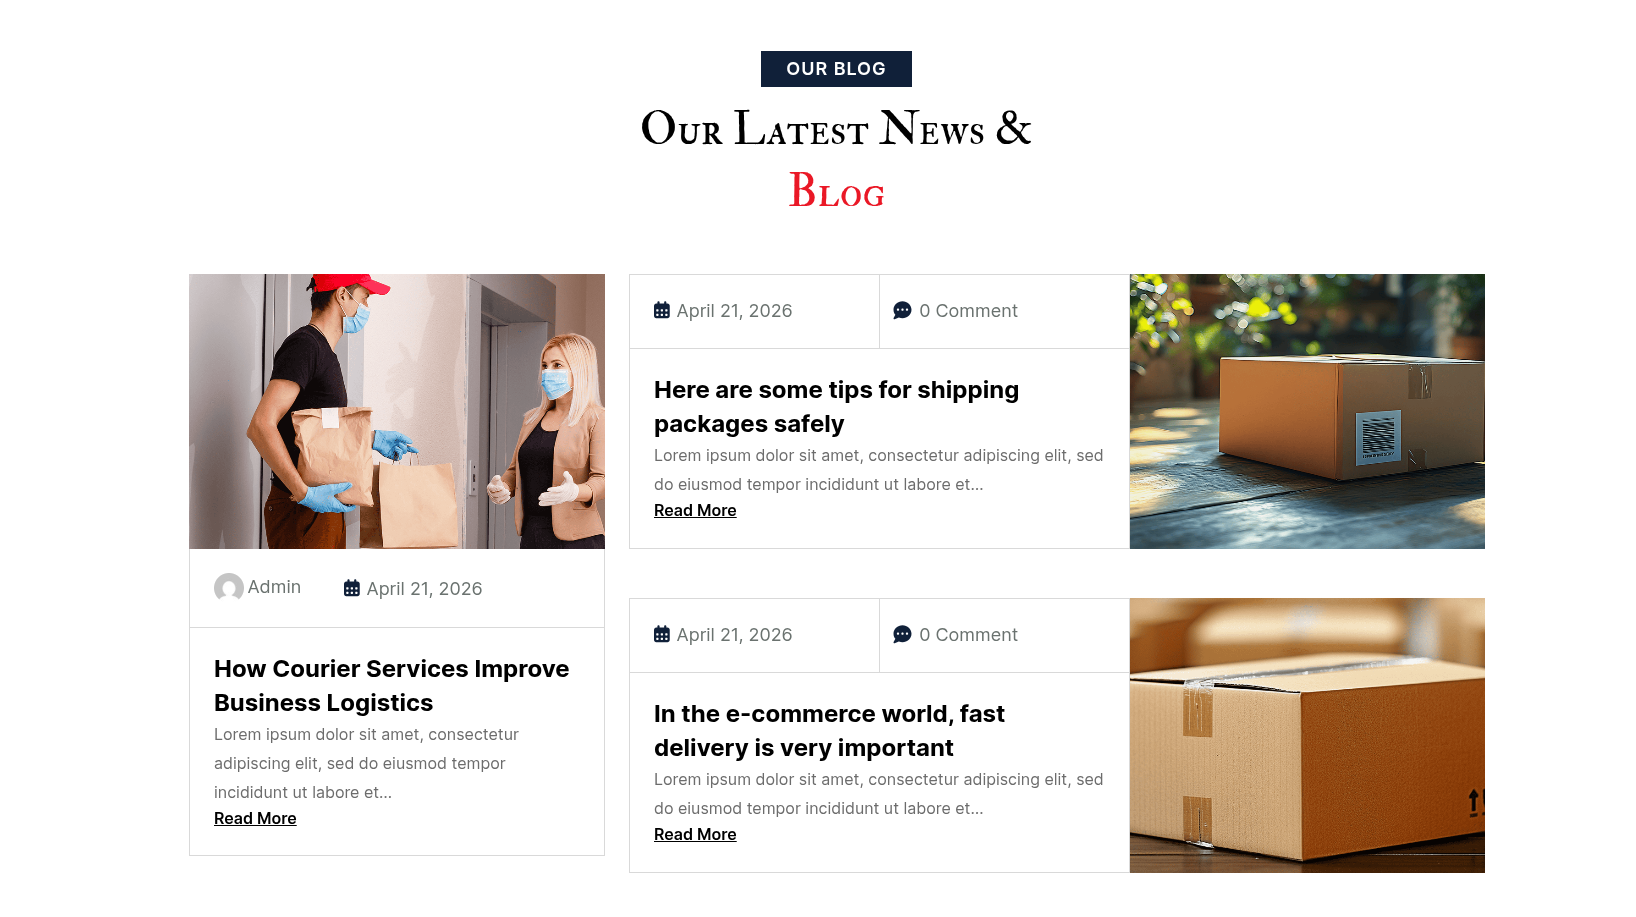
24. Latest Blogs
This is the portion of the Latest Blogs reference
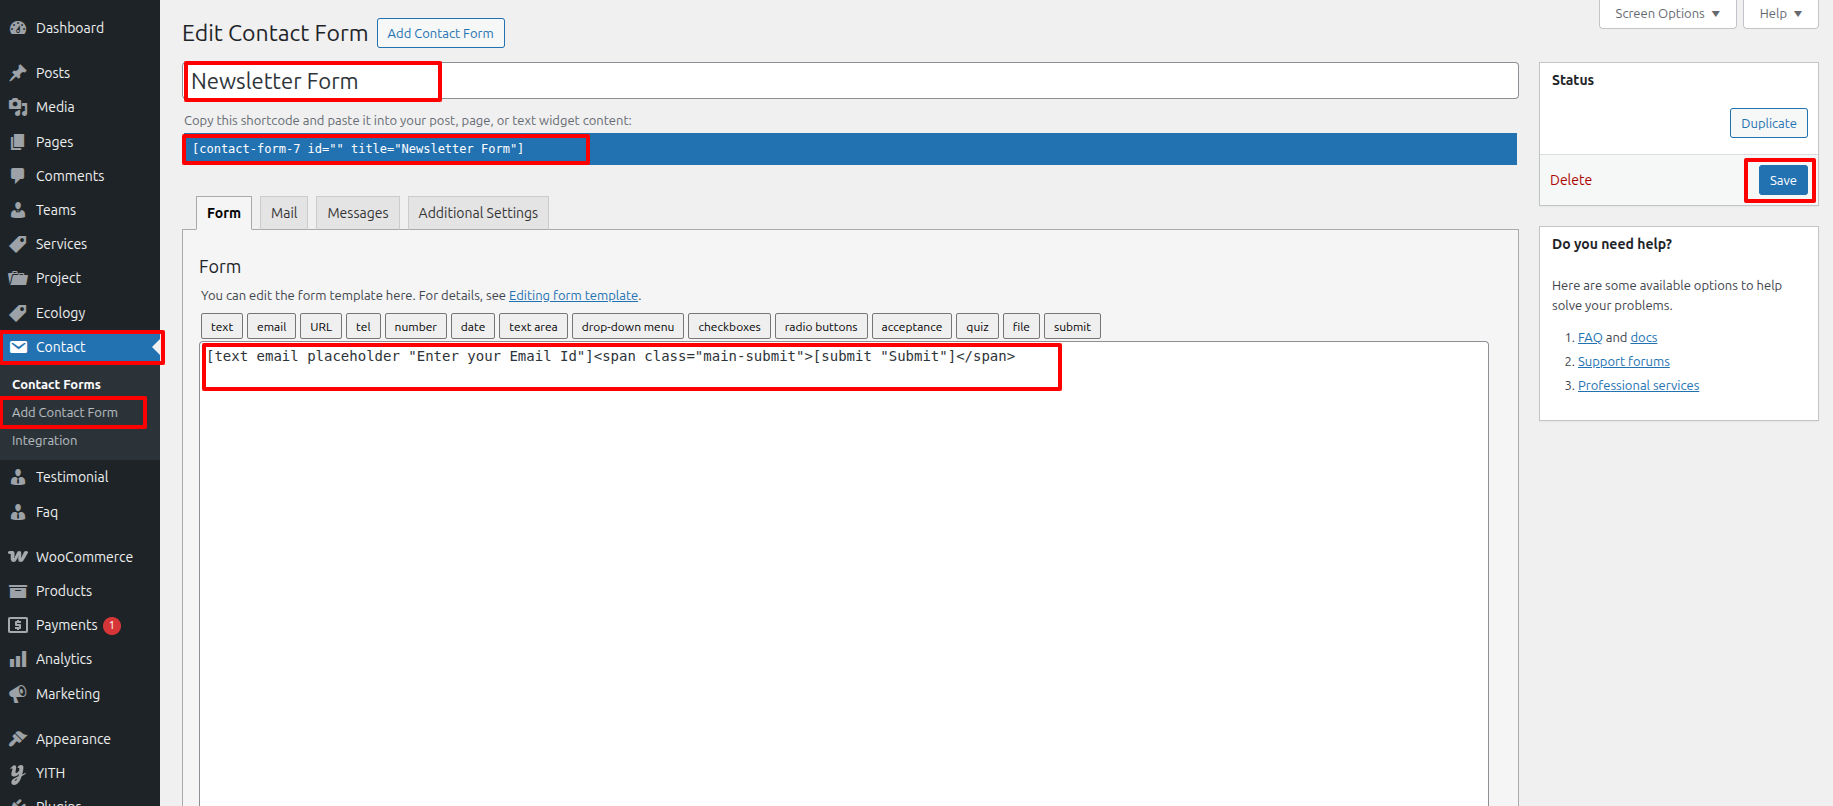
25. Newsletter
This is the portion of the Newsletter reference
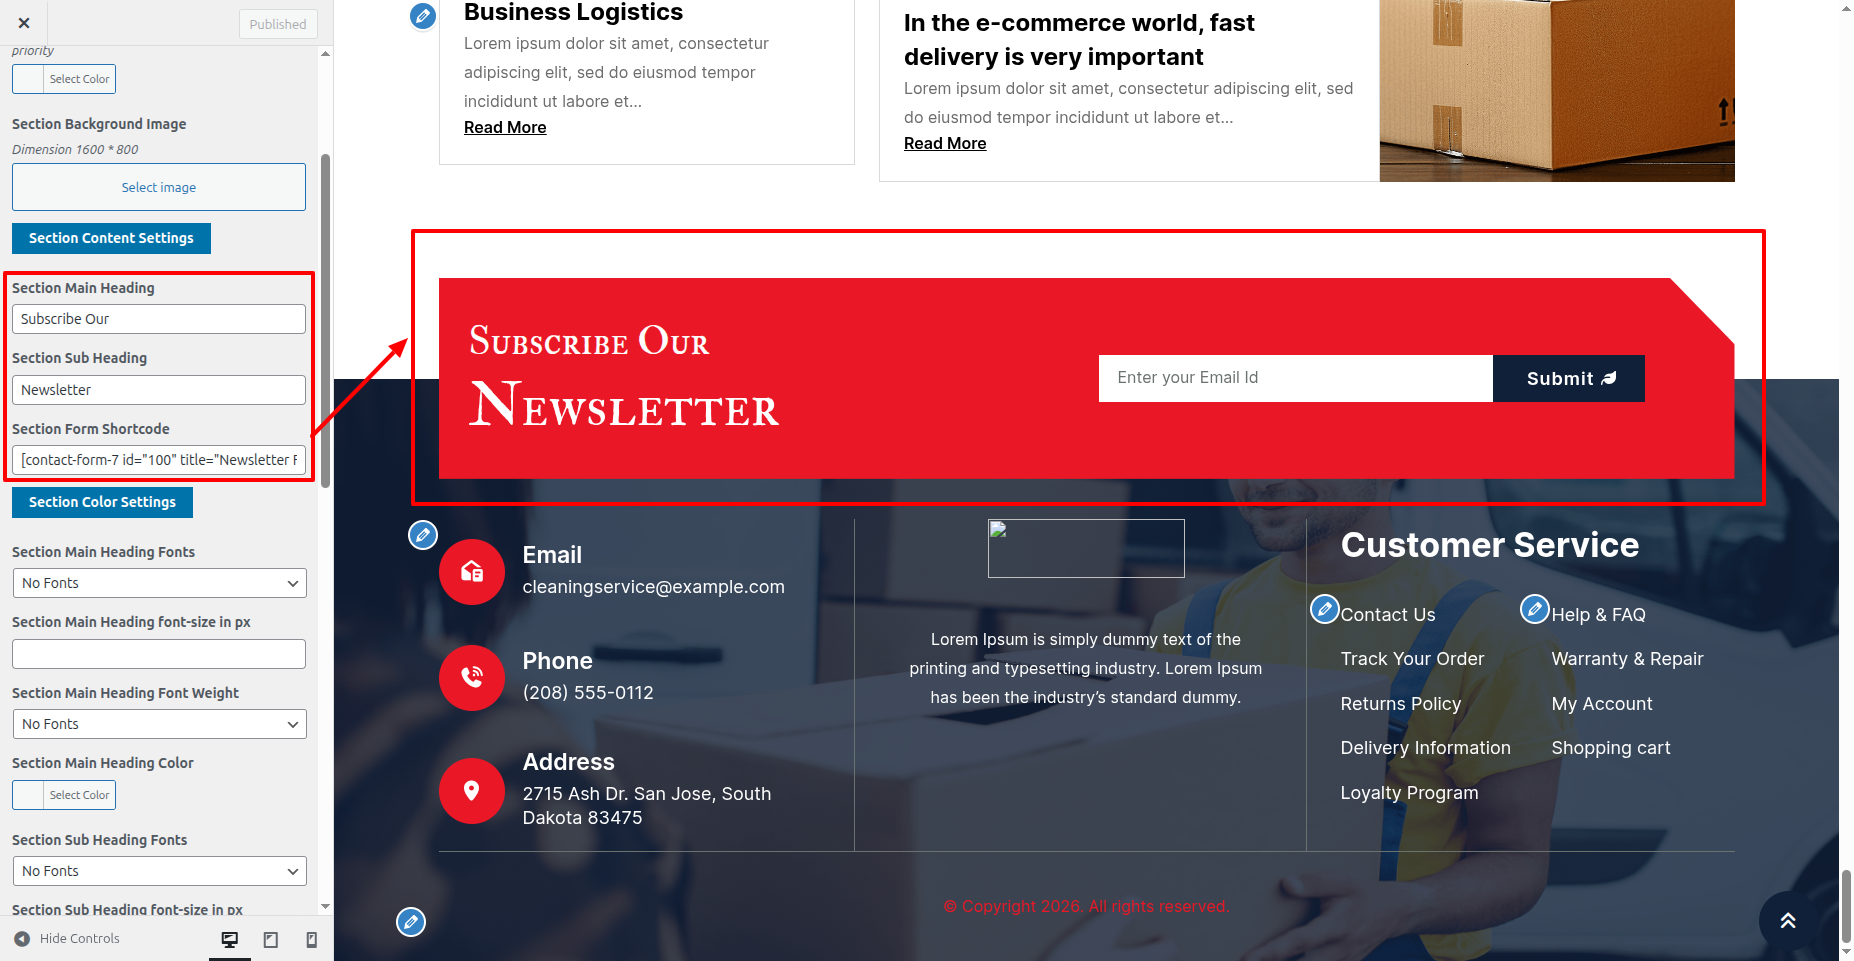
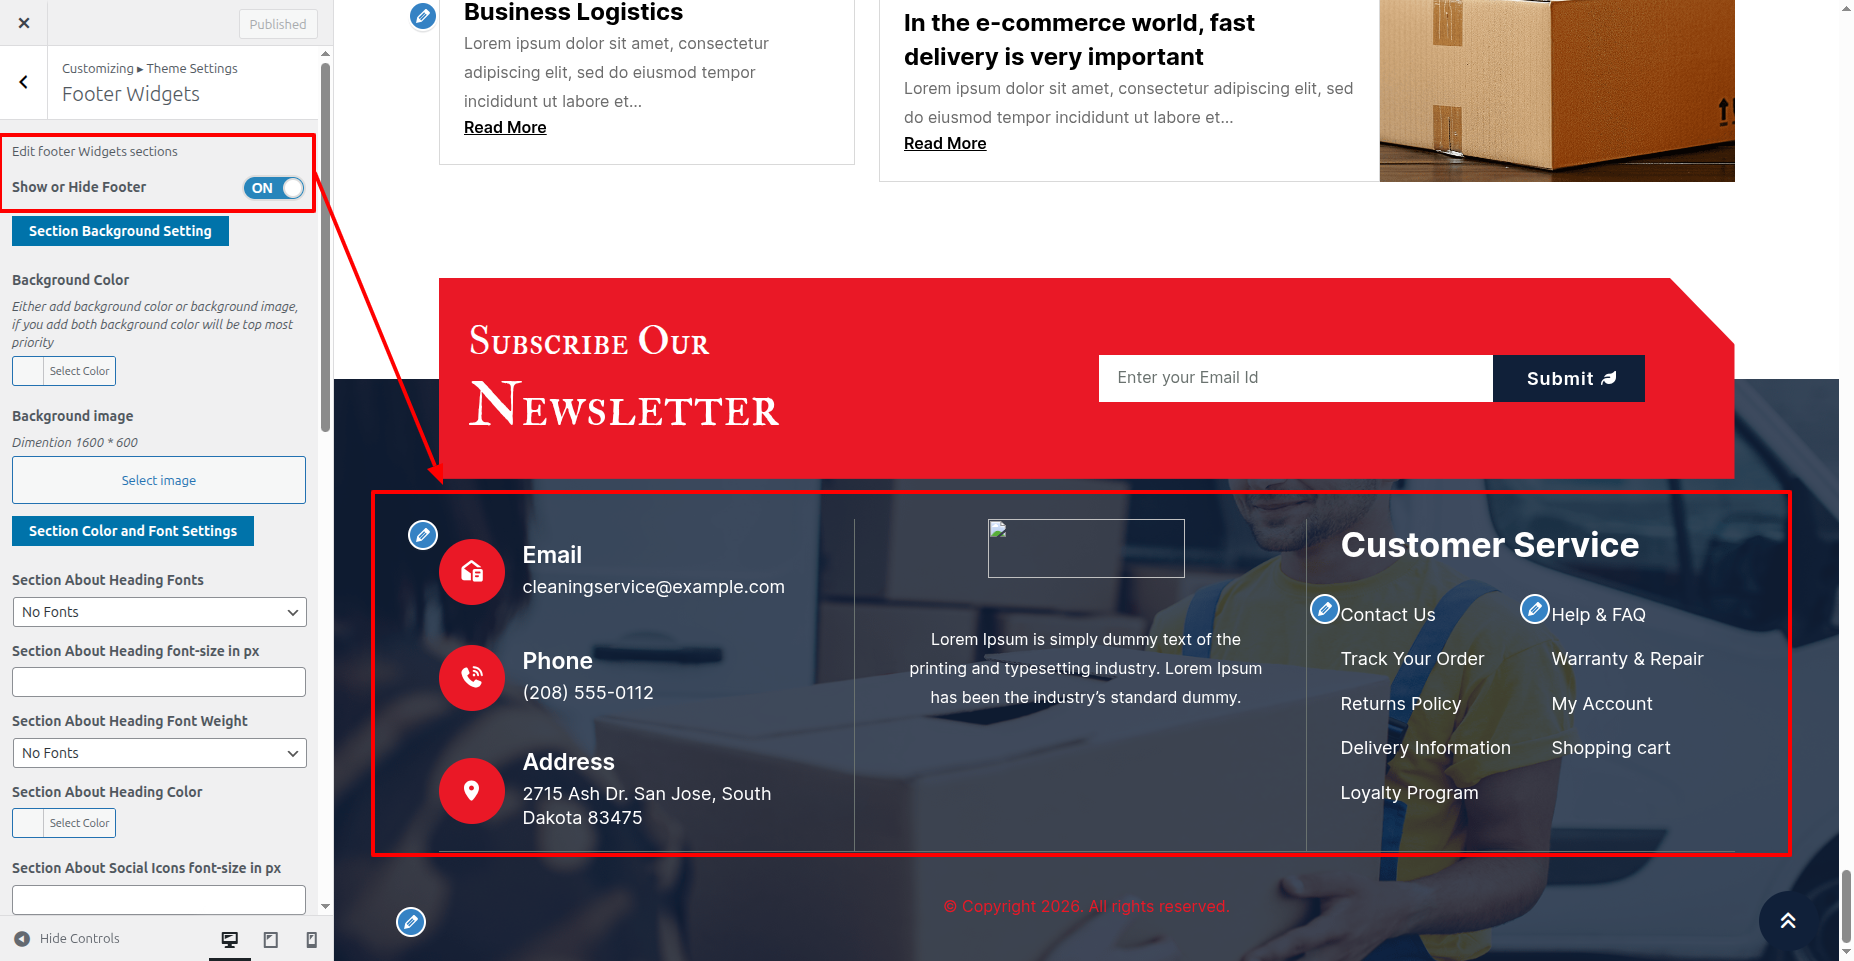
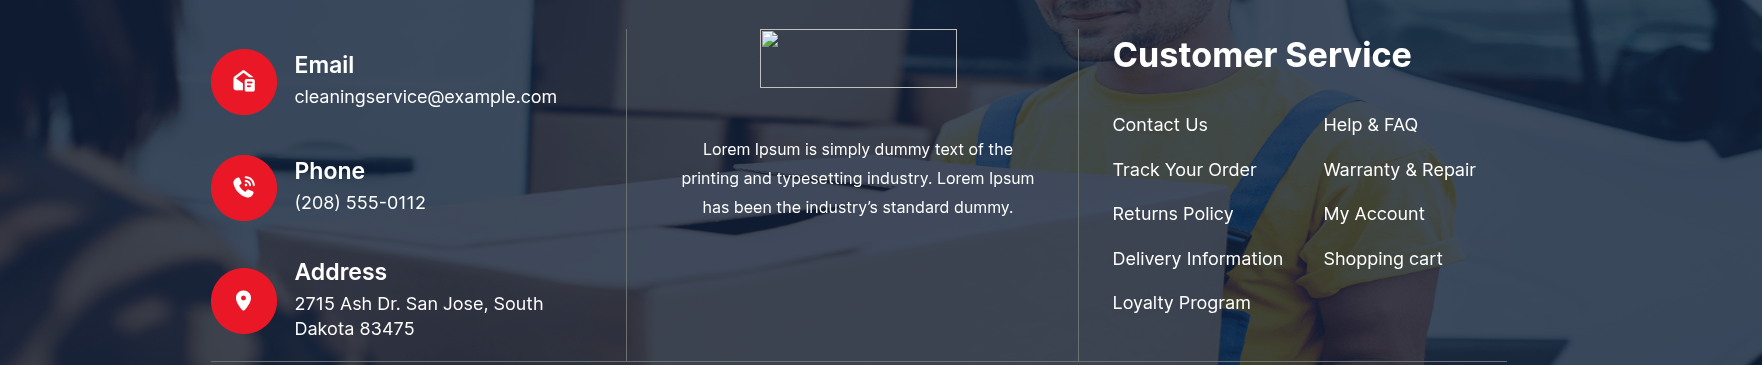
24. Footer Widgets
This is the portion of the Footer Widgets reference
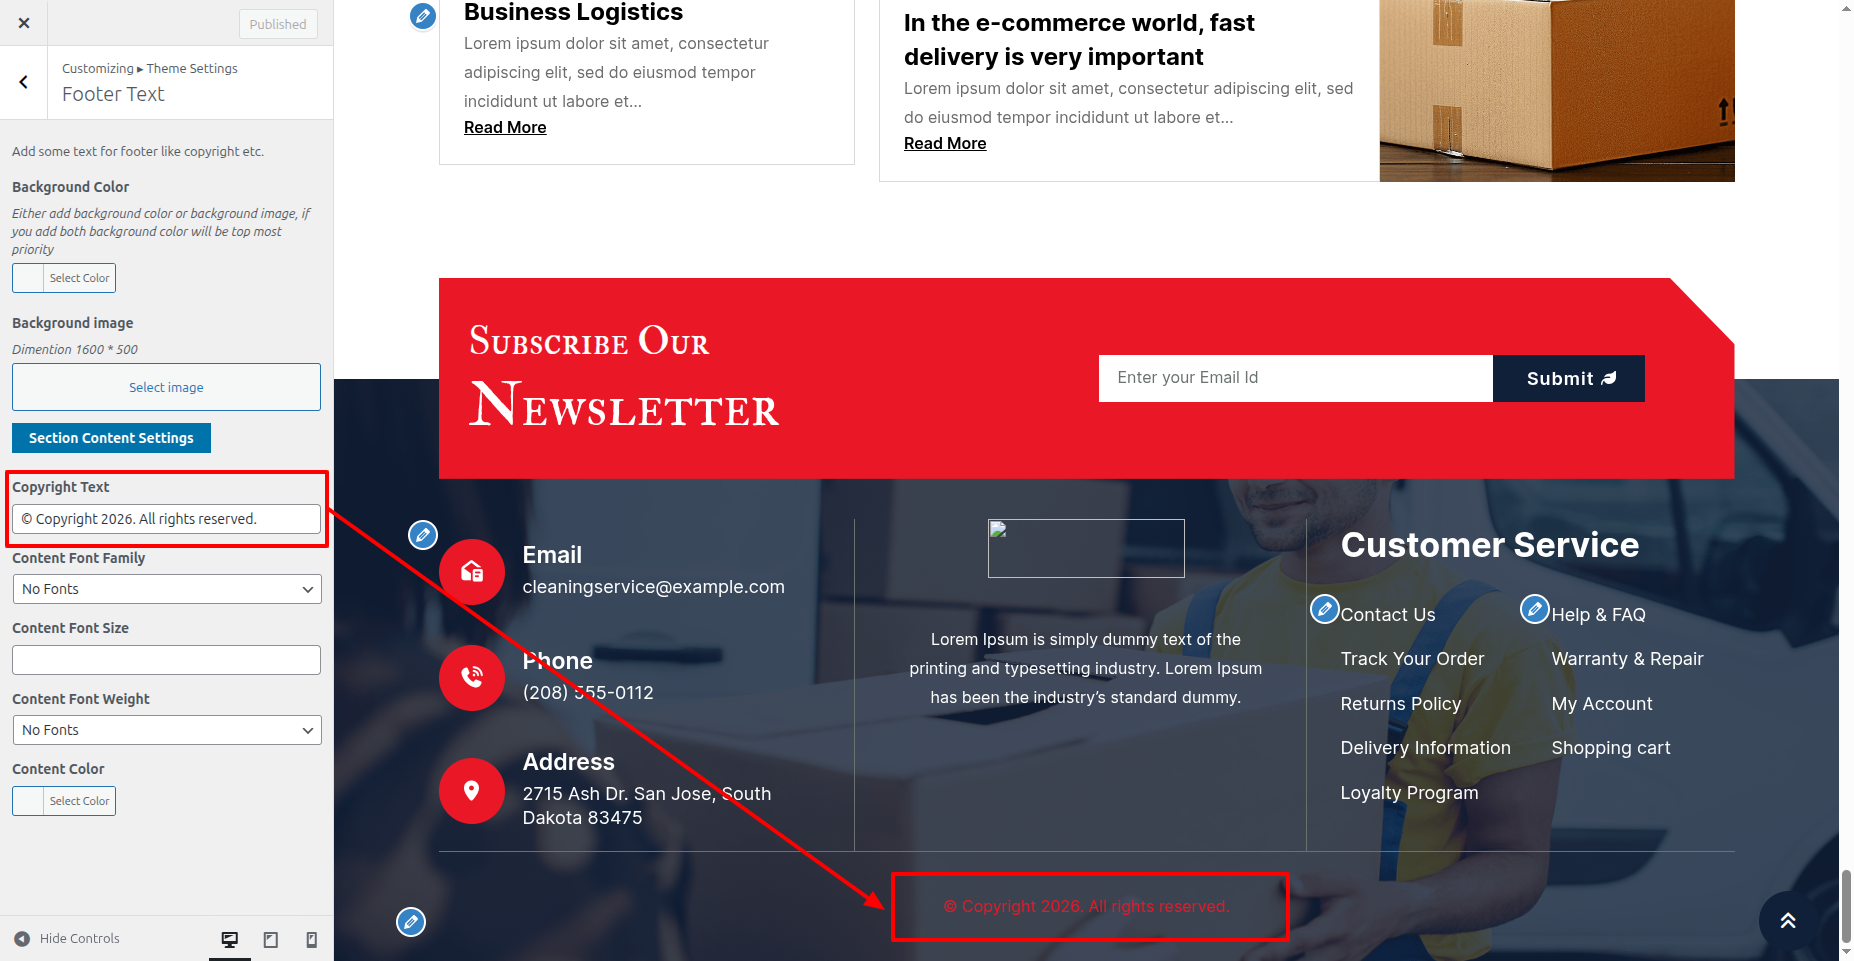
25. Footer
This is the portion of the Footer reference

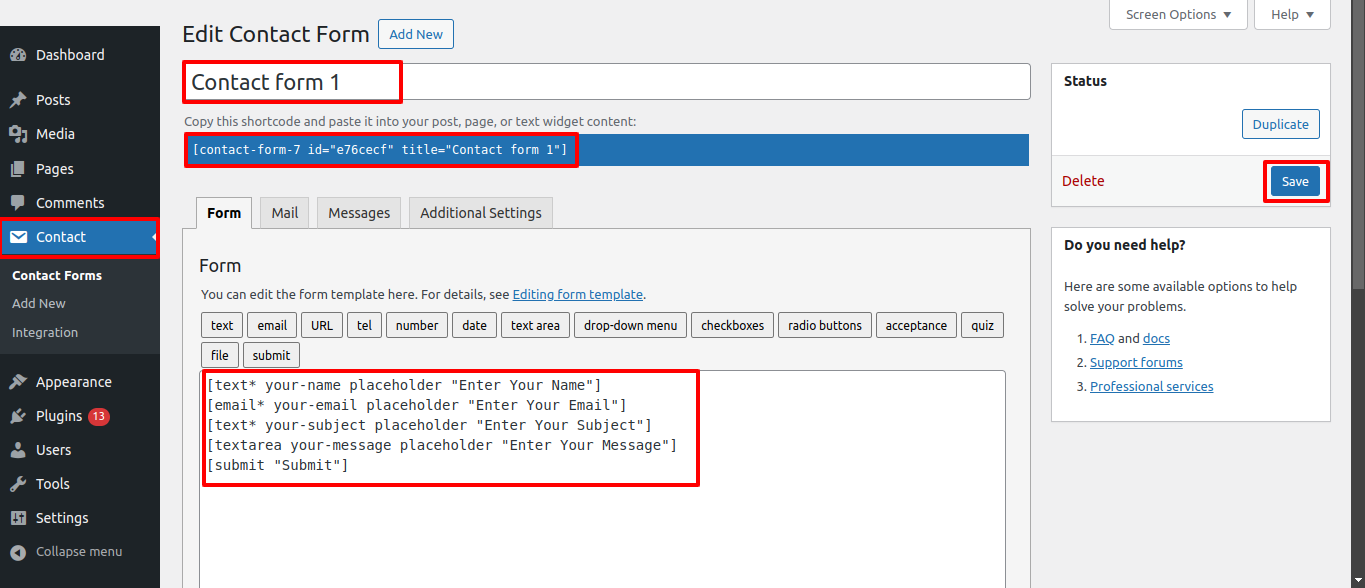
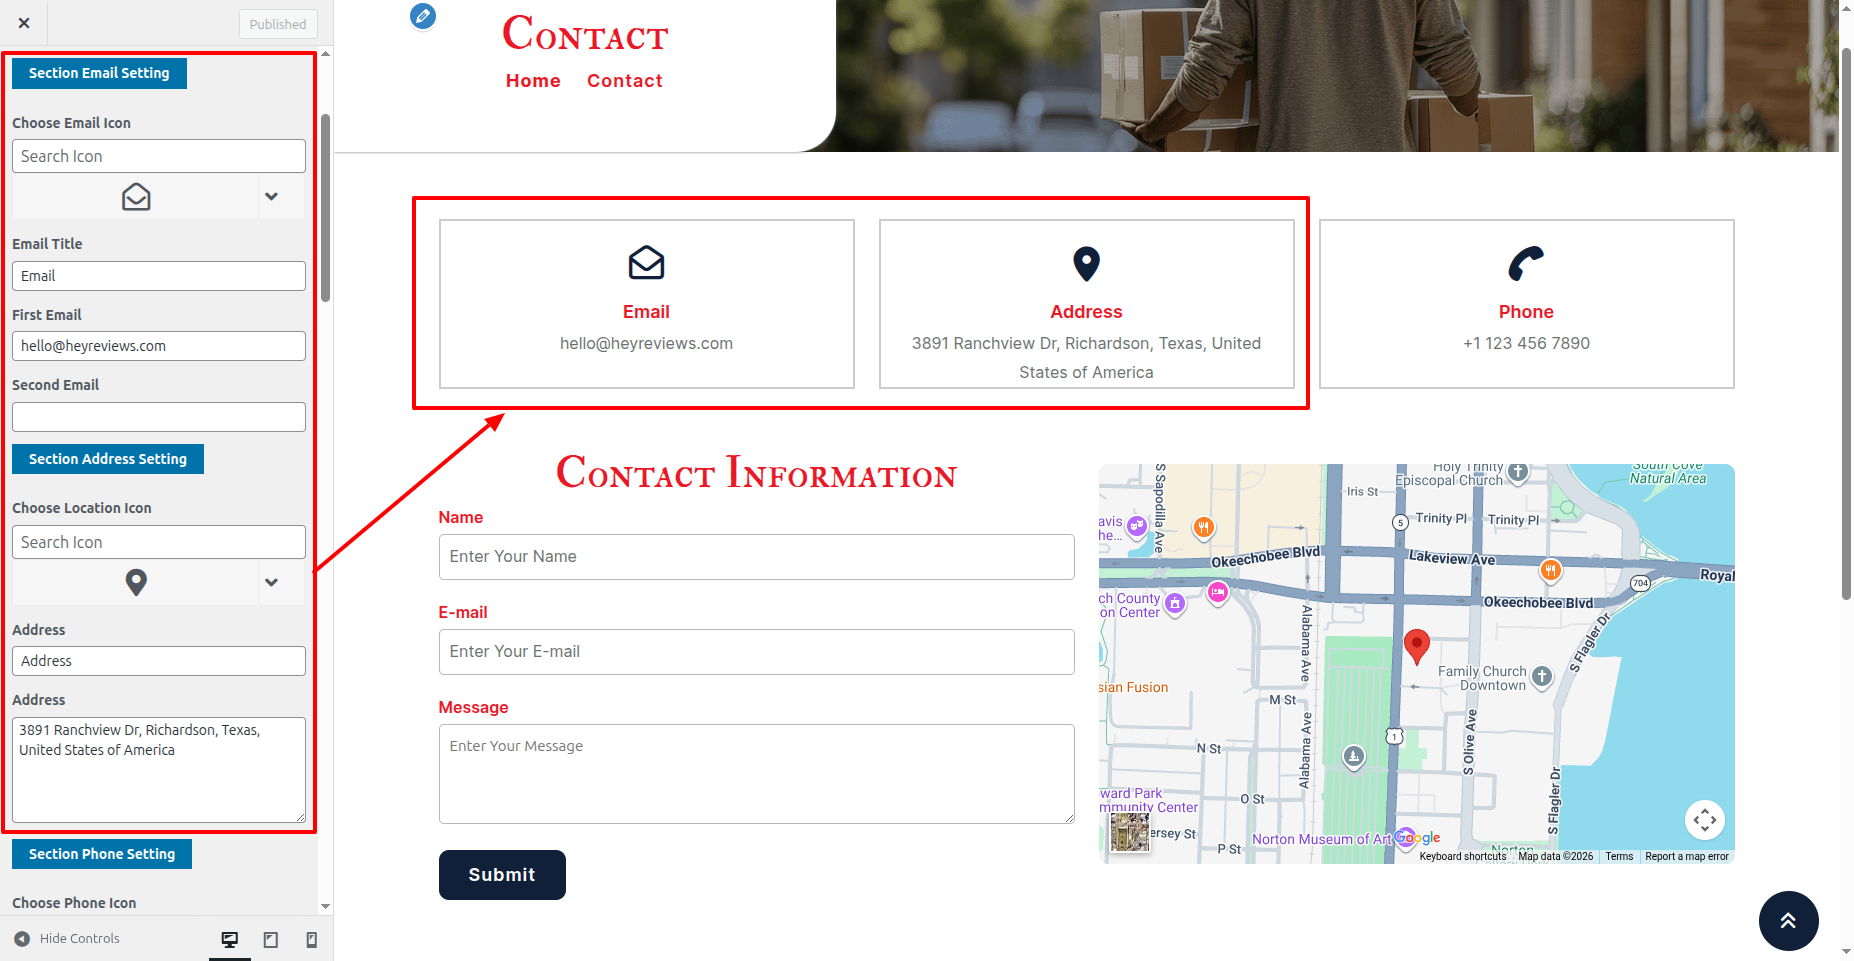
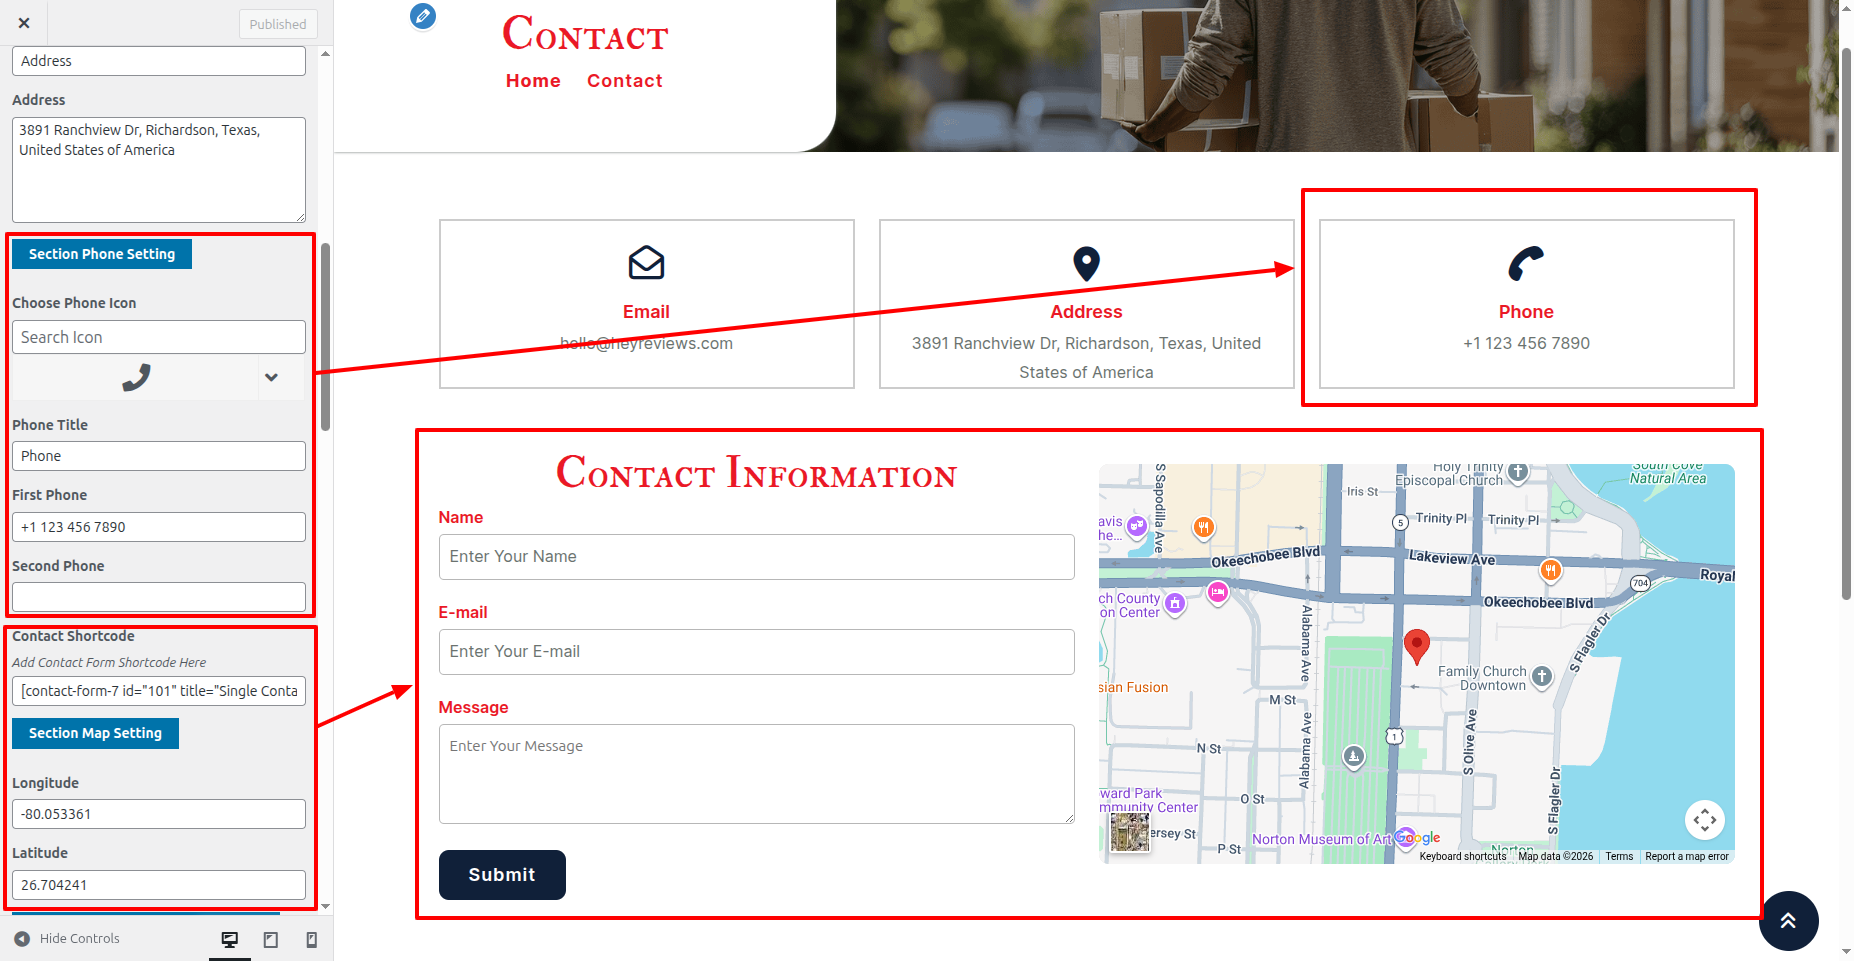
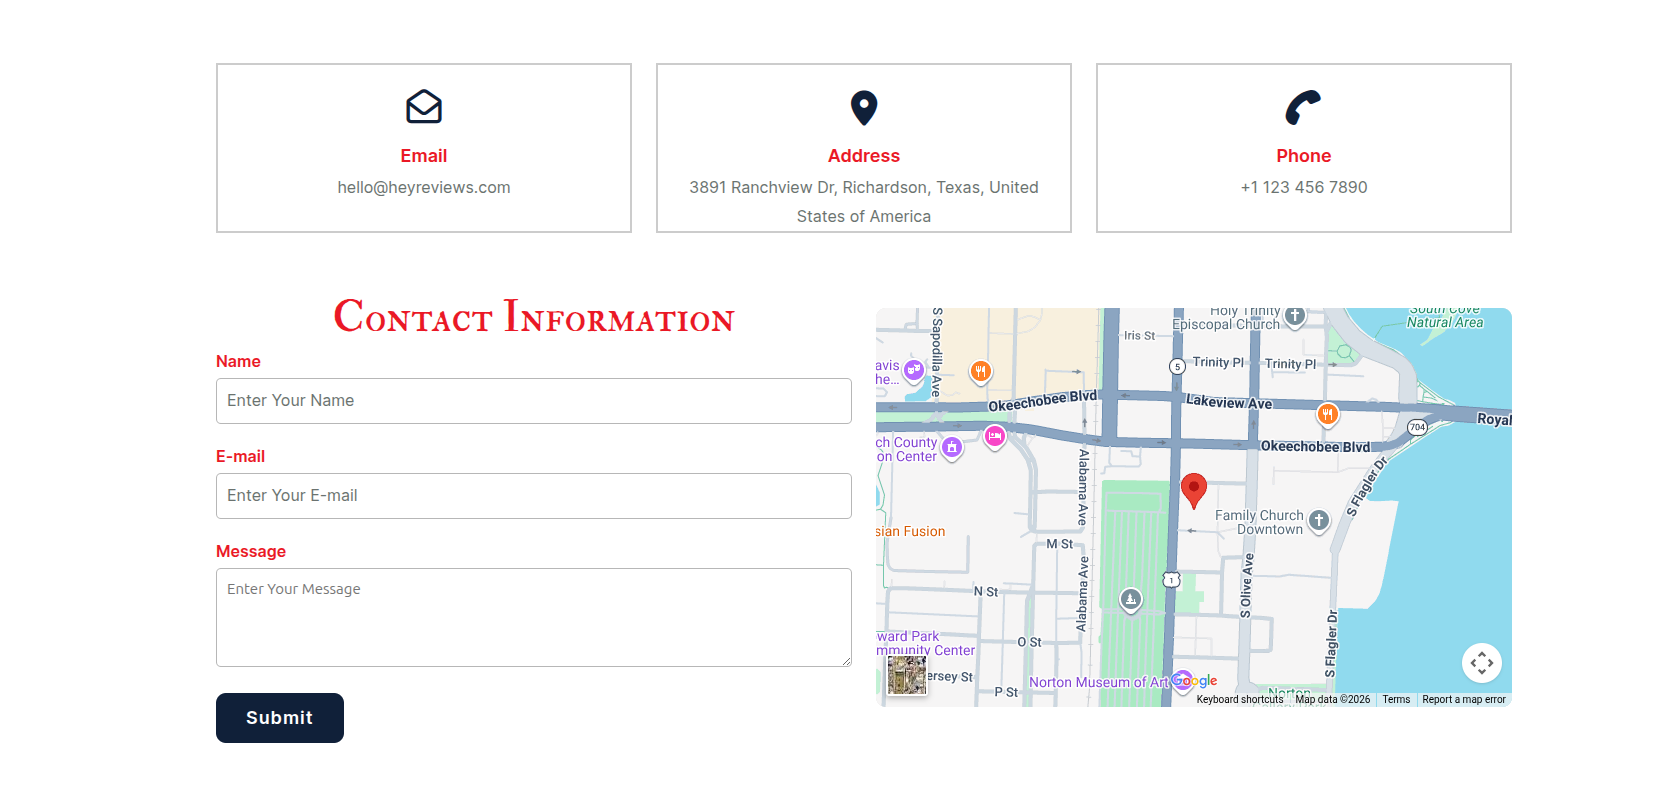
26. Contact Page
This is the portion of the Contact Page reference